When I first started working with leather, the idea of using a laser cutting machine wasn’t even a remote possibility. It was around 2010, and that was something “real businesses” used — not someone working out of their tiny 3rd-floor apartment.
Fast forward a few years (more than a few at this point, sigh)… and I can’t imagine running my shop without one. Clean cuts, crisp engravings, and the most essential selling point of all – super fast prototyping!
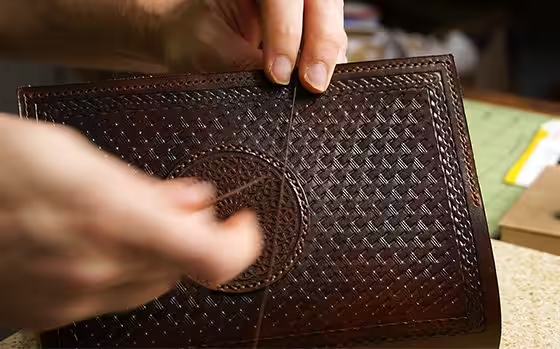
If you’re serious about leveling up your leathercraft — or just tired of slicing your fingers on a dull Tandy head knife — getting the right laser is a game-changer.
Here’s how to choose your first one (without overthinking it to death).
Step 1: Pick the Right Kind of Laser
This is extremely important. There are several types of lasers available, and only two are suitable for cutting leather.
Here’s the cheat sheet:
- CO₂ Laser = The best for leather. The wavelength of a CO2 laser is ideally suited for cutting and engraving leather. If you want to take the “proper” route, opt for a CO2 laser.
- Diode Laser = They do work, but with caveats. Diode lasers are relatively new to the consumer market, and they’ve made a big splash due to their affordability. If you’ve ever seen a laser cutter for sale that’s less than $1000, 9 times out of 10 it’s a diode laser. On average, diode lasers will be less powerful and significantly slower than a CO2 laser when performing the same task.
- Fiber Laser = Amazing tech — for metal. Not leather. Just avoid fiber altogether.
Step 2: Power Up (But Not Too Much)
For leather:
- 40W–50W CO₂ lasers are the sweet spot.
- More power = faster cutting, especially for thick hides. More power also means a thicker laser beam which will reduce the quality of engraving work somewhat. Keep that in mind if you are looking to pair cutting with detailed engravings.
- Less power = more finesse, but slower cutting production. If you have a particularly thick or dense piece of leather, you may need to run multiple passes to cut through it cleanly.
If you plan to grow — or you hate waiting — lean toward the 50W range.
If you must go the budget route and don’t plan on cutting anything thicker than pieces for a wallet or journal, a 20W will be serviceable. Slow… but serviceable.
Step 3: Think Bigger Than You Need
When you’re buying your first laser, it’s tempting to grab the smallest machine to “save space.”
Spoiler alert: you’ll outgrow it in three months.
Bed size matters more than you think:
- Small bed (12”x20”) = fine for wallets, card holders, coasters, patches.
- Medium bed (16”x24” or bigger) = batch work, bigger projects, freedom.
Bigger beds often require larger workspaces, so please keep that in mind. The main laser I use for cutting is a 16” x 30”, and I find it to be plenty big.
Step 4: Pay Attention to These Features
- Air Assist — Laser cutting generates a lot of hot smoke and particulate matter, which can burn parts of your leather you don’t want to burn. Using an air assist feature will help keep the edges cool and clean when cutting.
- Good Ventilation — Spoiler Alert: Laser cutting leather smells AWFUL! So, make sure to set up a proper exhaust system. I would suggest an inline fan that is at least 4” to 6” in diameter. Even if your laser comes with a small built-in fan, I guar-an-tee you it’s not enough.
- Honeycomb Tray — Most lasers come with a bed of slats. Slats are great for holding flat materials like wood, but not great for floppy materials like leather. You want to make sure you pick up a honeycomb tray or honeycomb bed that matches your model laser.
Step 5: Know What You’re Getting Into (Money Wise)
Laser dreams are cheap. Laser setups? Not always.
Here’s a quick look at what to expect:
- Entry-level CO₂ machines – $2000 to $4,000
- Diode machines – $500 – $2000
- Leather to practice on (and screw up) — never forget this!
Step 6: Good Starter Lasers (That Won’t Bankrupt You)
This is a tough one for me to write out because there are lots of different “what ifs” in this scenario. But I must.
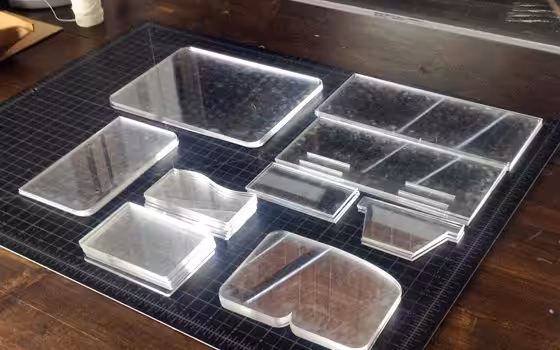
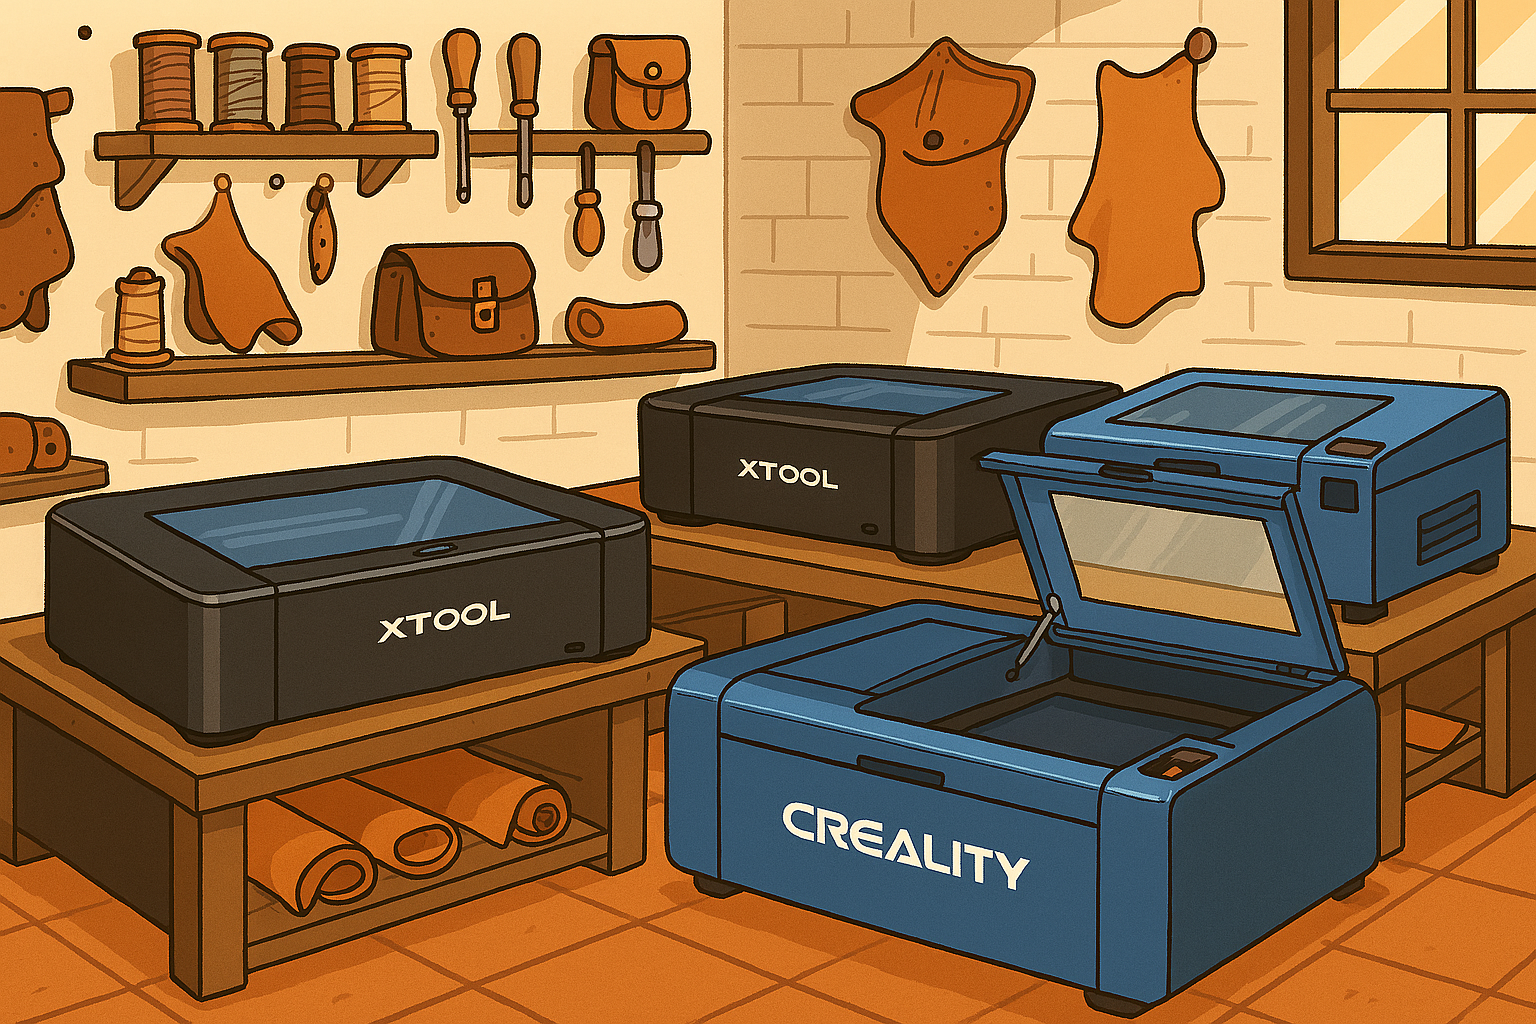
- xTool P2 / [Amazon Link] — This is a CO2 laser. I use the P2 to prototype all of my leather products. Every product you see available on this site (except the tote bags). The P2 is a slightly larger and more advanced laser than the S1, but it still comes with the easy-to-use software. You will need to order a honeycomb panel as an extra. There is a updated model out now called the P2S which is just the P2, but, better.
- Roly Lasermatic Mk2 / [Amazon Link] — This is a diode laser. I currently have the Lasermatic XW 30w, and it’s an excellent laser for cutting and engraving leather. It’s also probably the highest build quality in its class. This is a lesser-known company, but they have a cult following for a reason! If you’re looking to get up and running for under $1500, this is the machine I would suggest looking at. 20w of power will work, but I recommend opting for 30w for faster cutting power.
- xTool S1 (40w) / [Amazon Link] — This is a diode laser, but it’s a powerful one. It comes with an enclosure and software that is very beginner-friendly to use. Aim for the 40W, but if you really can’t stretch the budget, a 20W will suffice. It comes with a honeycomb panel which is great for the projects we do. I own a 40W S1 and have used it to knock out tons of cardholders in my day.
- Creality Falcon2 (22W) – This is an entry-level diode laser for anyone on a budget. Most lasers in this price range don’t come with an enclosure, but this one does.
- OMTECH Maker 60W — This is a CO2 laser for anyone looking for a larger workspace and more power at a reasonable price. This kind of laser comes with slightly less “hand-holding”. You will be responsible for a lot more setup and operational stuff.
Step 7: Before You Hit Buy
A few rookie mistakes you can easily dodge:
- Think about where your exhaust will go — this is something many people overlook. You will have to exhaust all the smoke you generate. That means outside or into a more expensive air filtration unit.
- Check support and warranty — When things break (and they will), you’ll want help fast. This also means joining the relevant Facebook Groups for the laser you buy. If you buy an OMTECH, join the OMTECH Operators group. You will get help a lot faster from your peers than from the manufacturer, most of the time.
- Measure your space — Lasers are bigger, heavier, and louder than the product photos suggest. If you aren’t buying a desktop-sized unit, they will require dedicated floor space and electrical considerations.
- Think about your designs — Lasers run off of what are called vector designs. Do you currently have your designs in a vector format? Are you okay with potentially learning a little bit of digital design work?
Final Thoughts
Choosing your first laser feels overwhelming because it’s exciting.
That’s normal.
Don’t be afraid to start small.
It’s better to grab a beginner-friendly machine like the xTool S1, start creating, and figure things out as you go — than waste weeks agonizing over whether to spend $10K on a machine packed with features you might never use.
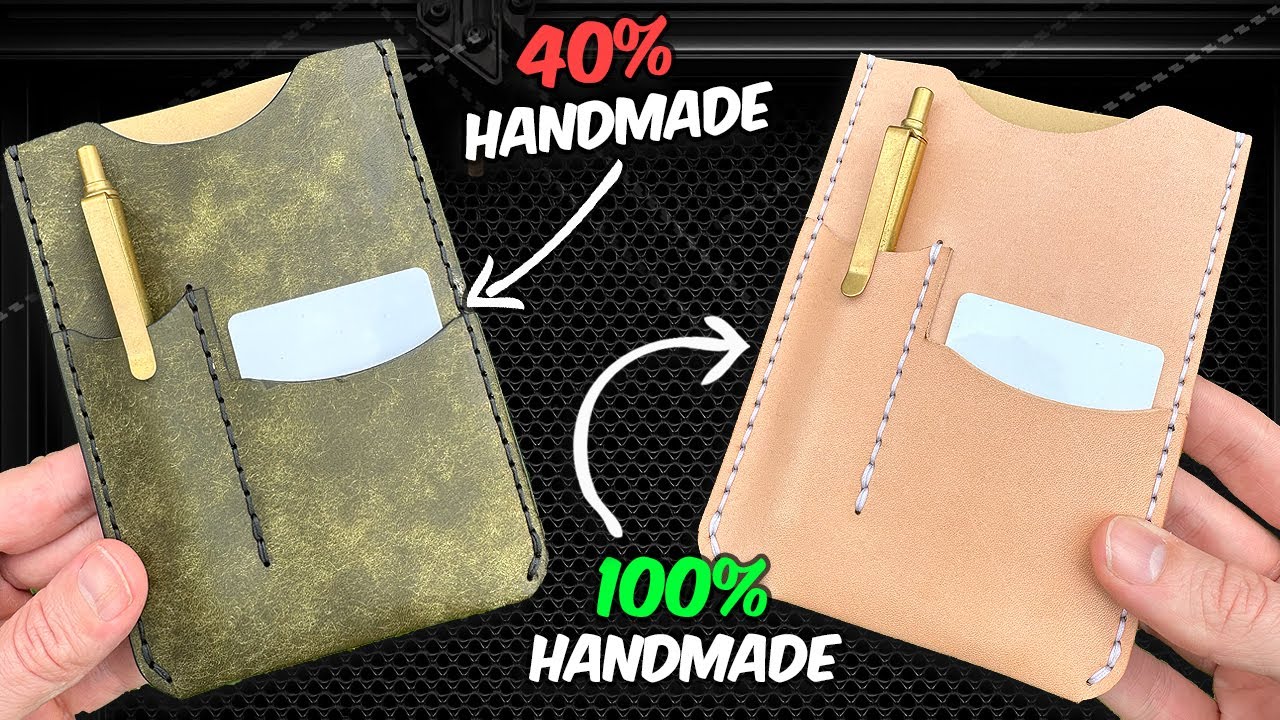
Here a video I did on how I use a laser and still keep my products handmade!