This free laser cut card wallet pattern includes both an SVG file for laser cutters and a printable PDF for hand cutting. The design is a slim leather card holder without engraving, making it easy to customize with your own artwork, logos, or stampings.
The SVG file is optimized for laser cutting (Lightburn, xTool Studio, Glowforge, etc), while the PDF template allows you to print and cut the pattern by hand if you don’t use a laser. This makes the template flexible for different shop setups, whether you’re cutting leather on a laser or working with traditional tools.
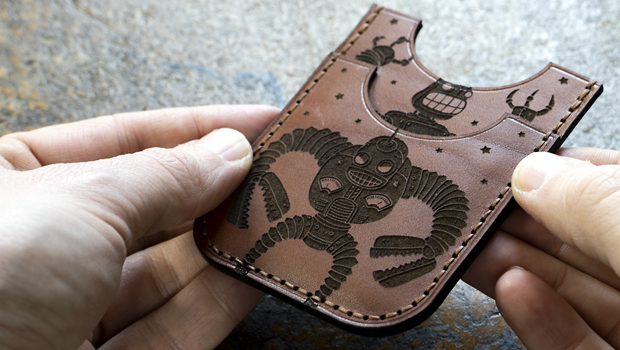
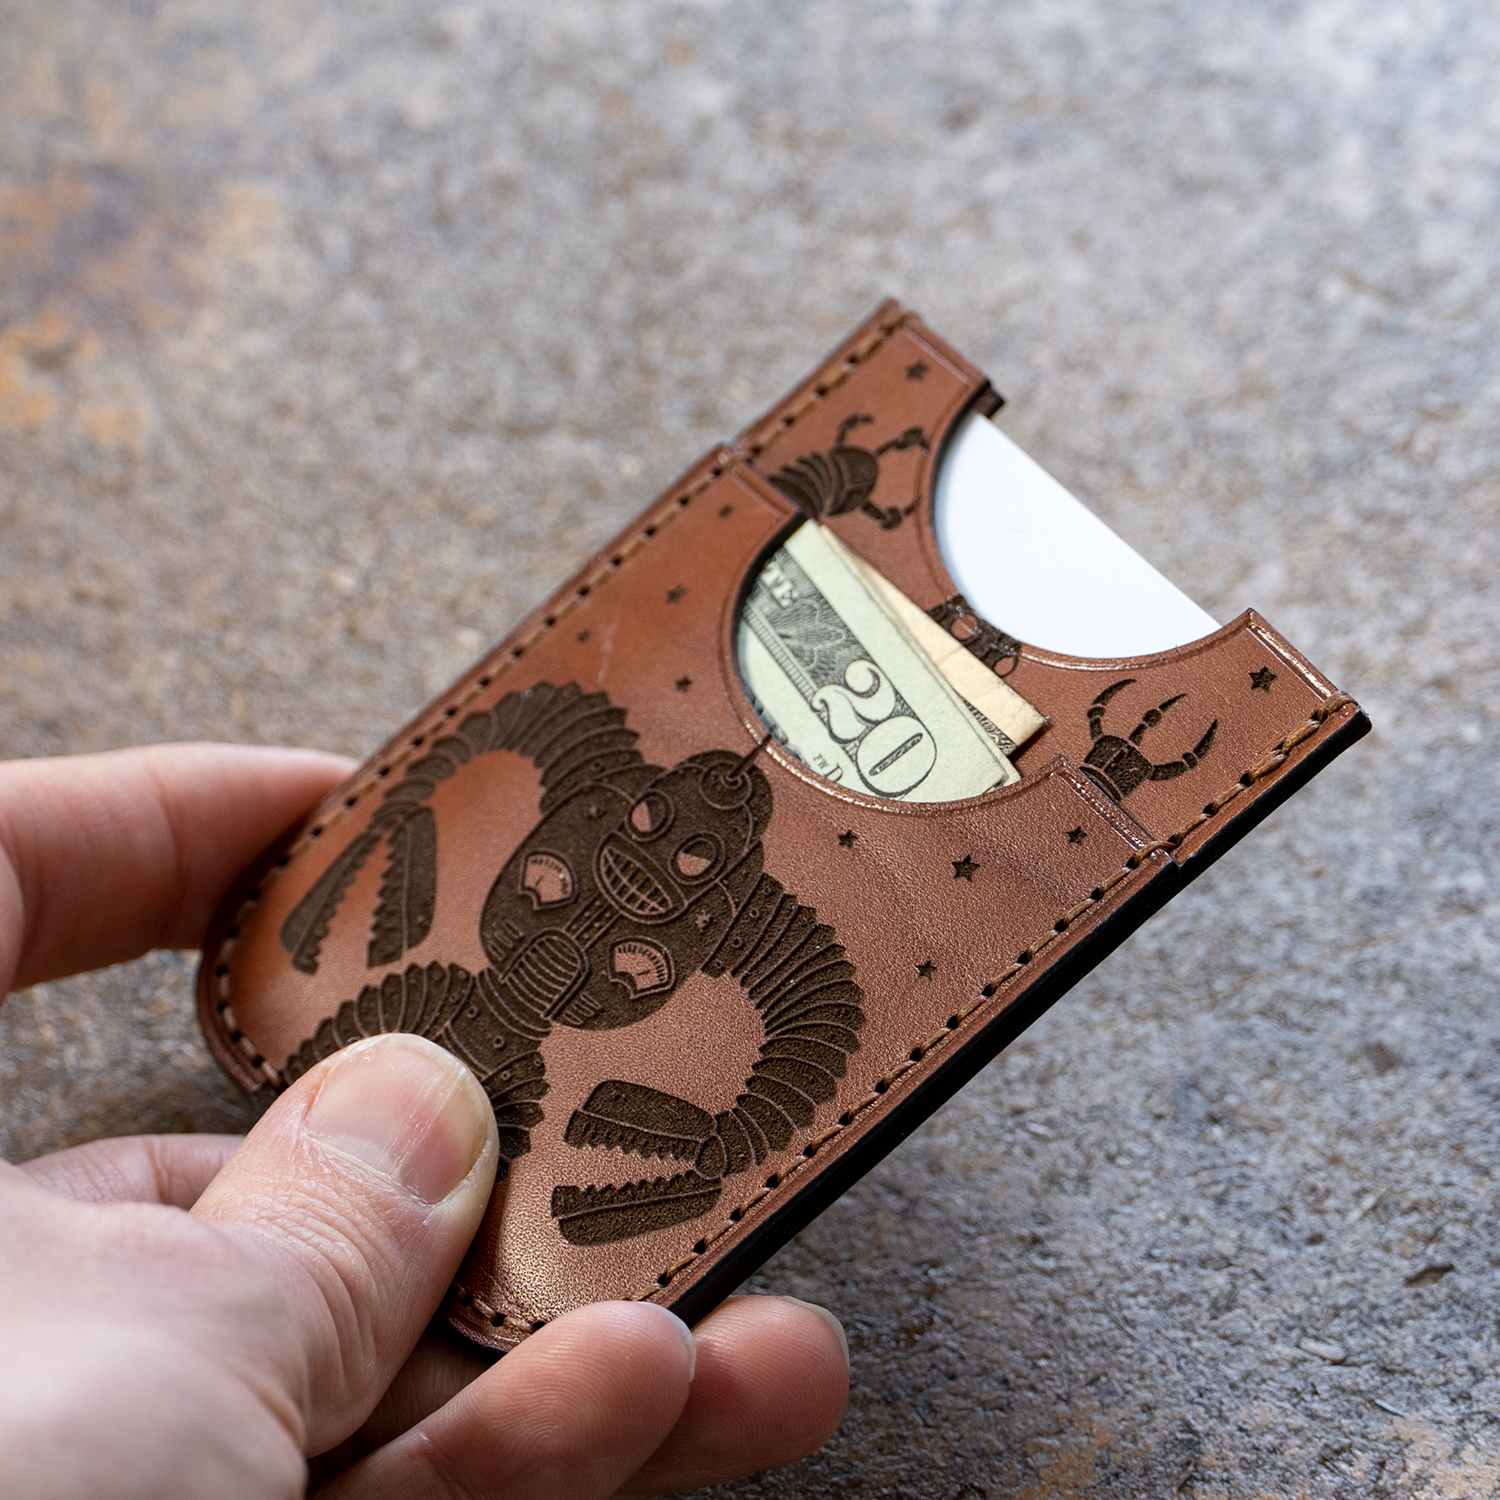
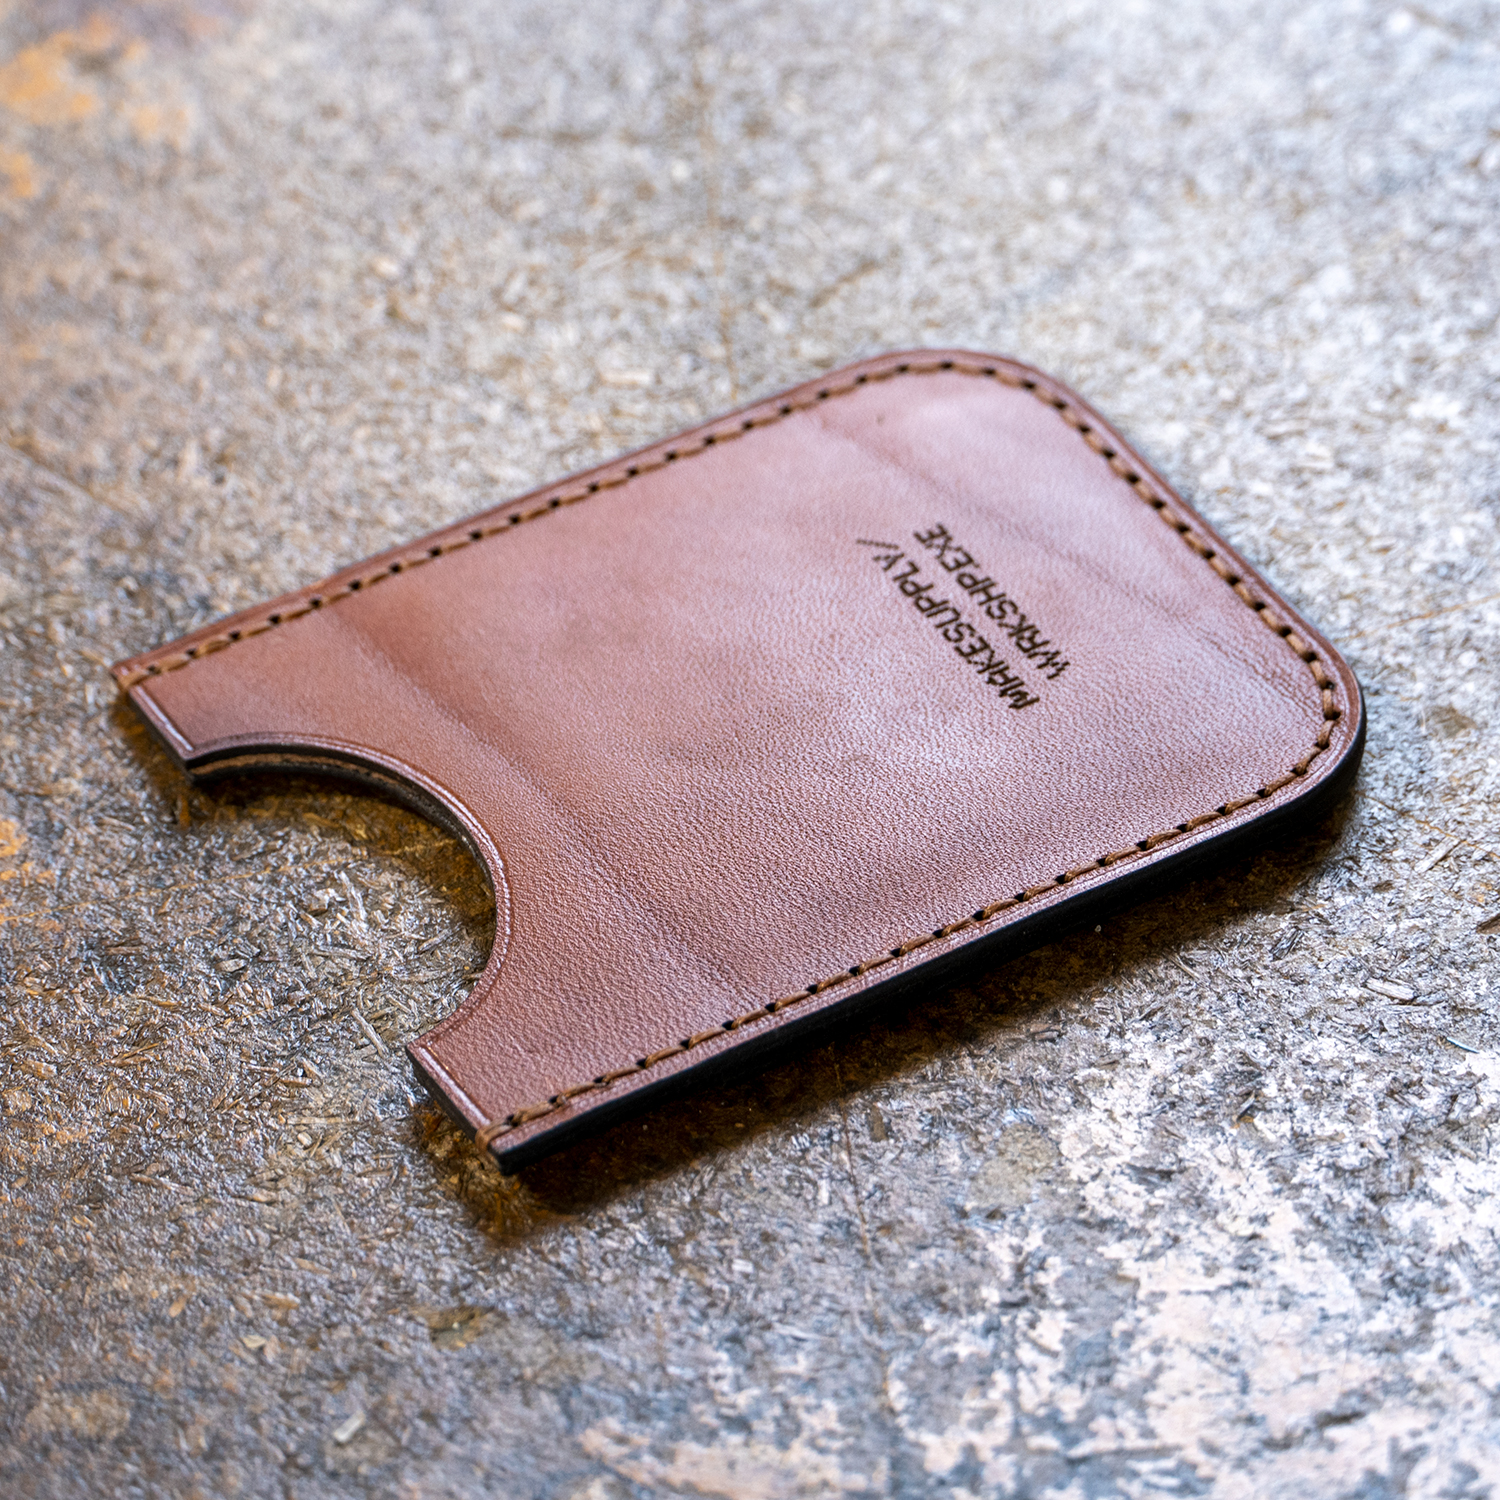
The design is for the card wallet only without the engraving. If you are interested in the exact same engraving style you can find the design here – Retro Angry Robots.
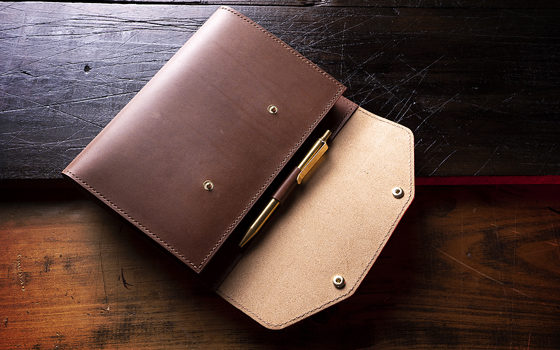
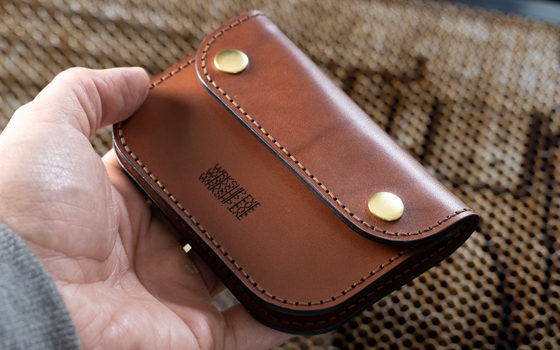
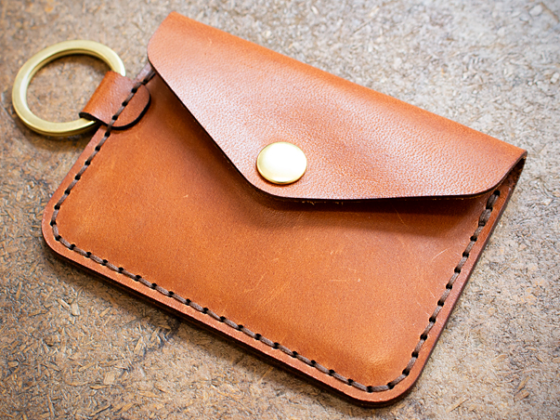
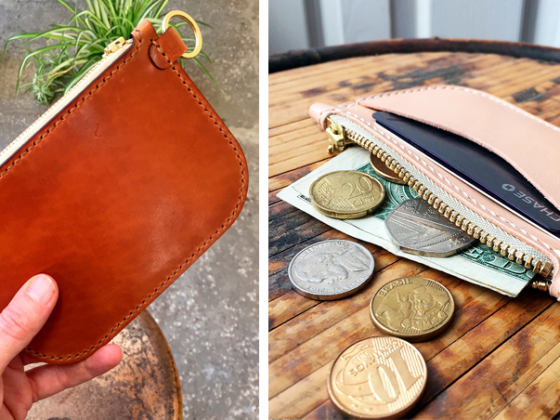
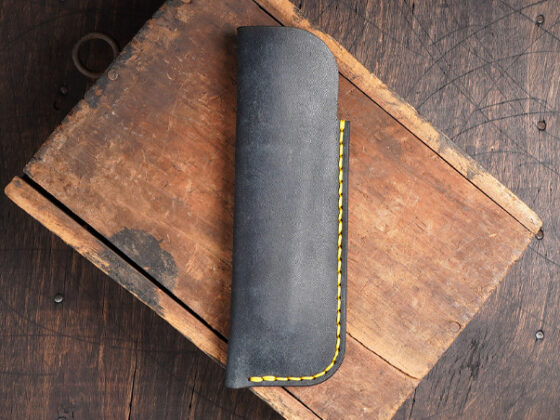
Finished Card Wallet Example
Template Options
SVG File
Download this option if you plan on loading the card wallet design into a laser cutter.
⬇️ DOWNLOAD FREE SVG PATTERNFree Card Wallet Pattern SVG - 5.58 KB
PDF File
Download this option if you plan on printing the card wallet design out on paper.
⬇️ DOWNLOAD FREE PDF PATTERNFree Card Wallet Pattern PDF - 260.31 KB
Usage Note: You are free to use this design to create and even sell the end product. However, you cannot redistribute this template in any form.
If you need any general assistance with how our patterns work, check out our How To Use MAKESUPPLY Leather Templates Guide!
👇 Get notified when new free templates drop! 👇
Inventory of Tools
- 36″ x 24″ Self Healing Cutting Mat
- No.2 X-ACTO Knife
- Wood Slicker
- Table Clamp Stitching Pony
- Aquilim 315 Cement
- Glue Pot
- Plastic Spreaders
- Neatsfoot Oil
- Thread Nippers
- Bone Folder
- Airbrush Masking Tape
- Dummy Credit Cards
- Microfiber Cloth
- Thickness Gauge
- Empty Paint Marker
- Fiebings Pro Dye (Black)
- C.S. Osborne Scratch Awl
- John James Stitching Needles – 002
- Generic Sandpaper – 320 Grit
- Dremel with Sanding Bit
- Ritza Tiger Thread – .6mm (Cigar)
- Tokonole Burnishing Gum
- Seiwa Edge Beveler (#1)
- Electric Edge Creaser
- Boss LS-1630 Laser Cutter
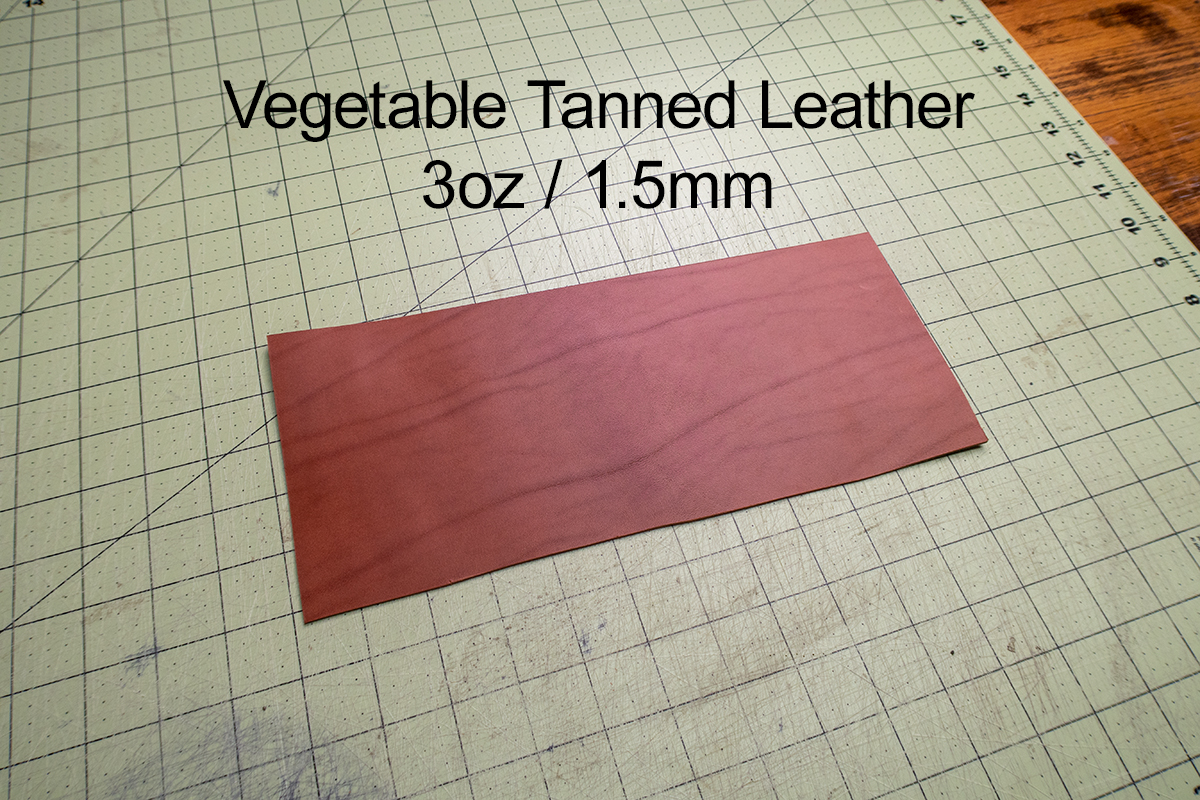
Leather Selection
In this video we used Valdibrana Conceria, Tarano Italian Vachetta Leather – 3.5oz (~1.5mm) thick. This pattern is designed for a leather in that thickness range. Slightly thicker or slightly thinner will probably work but it is optimized for 1.5mm. If you are laser cutting I HIGHLY suggest sticking with a pure vegetable tanned leather.
Instructions / Project Notes
Cutting Panel
Masking the grain surface
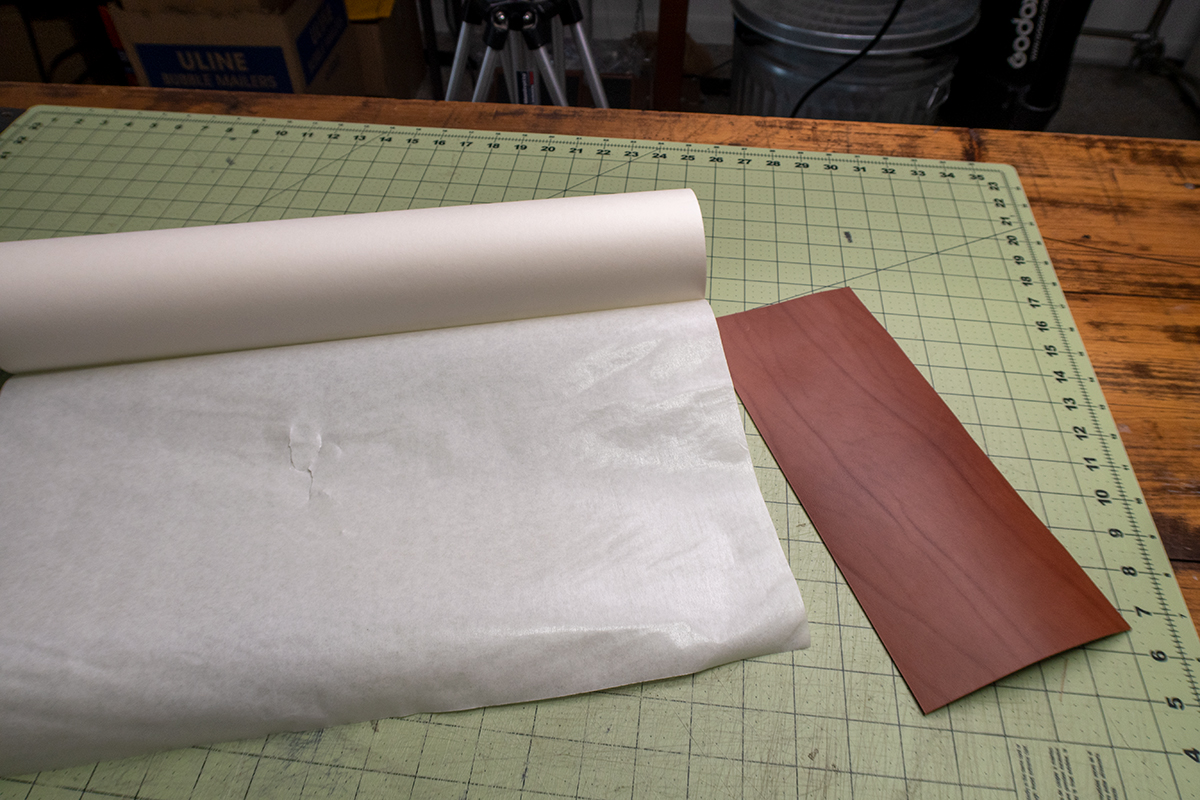
This step isnt necessary but masking the cutting surface with a low-tack masking tape helps keep the surface clean during laser processing. This wide mask is the best Ive found so far, link above if you want to check it out.
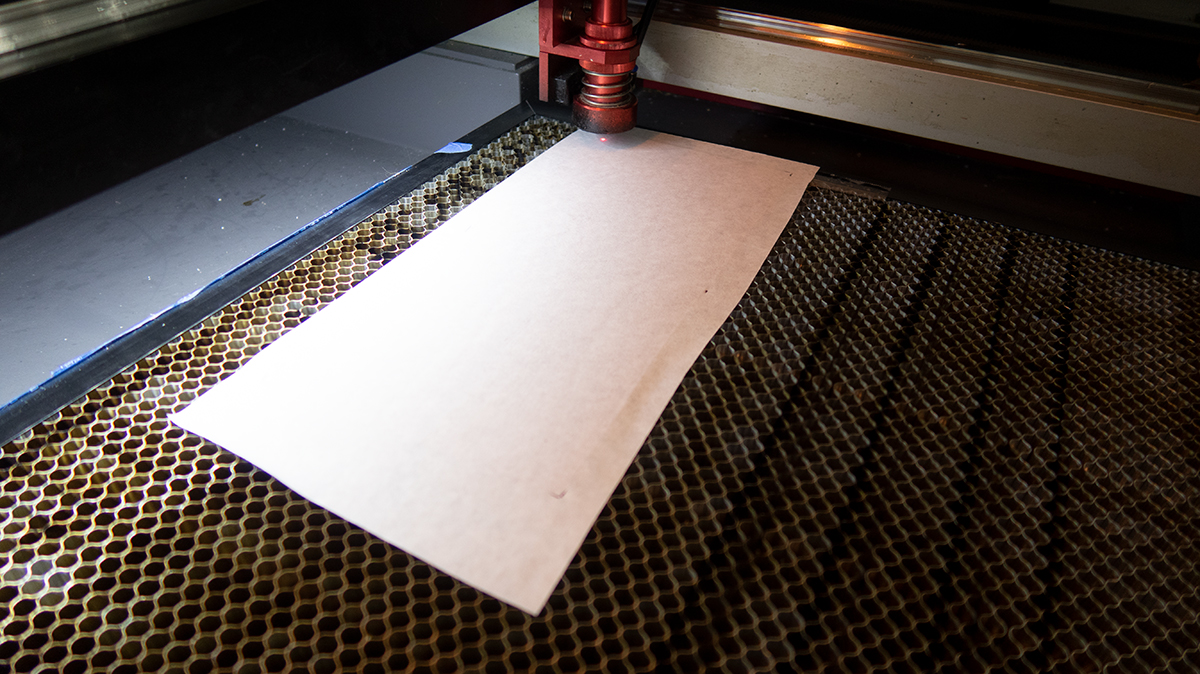
Laser Cutting Leather
I am using a 65w laser to cut the pieces. All lasers/materials are different so please do some tests to see what engraving and cutting settings work best for your machine. I overestimated how much power I needed for the engraving and it went a little deeper than I had hoped. Very important to test first!
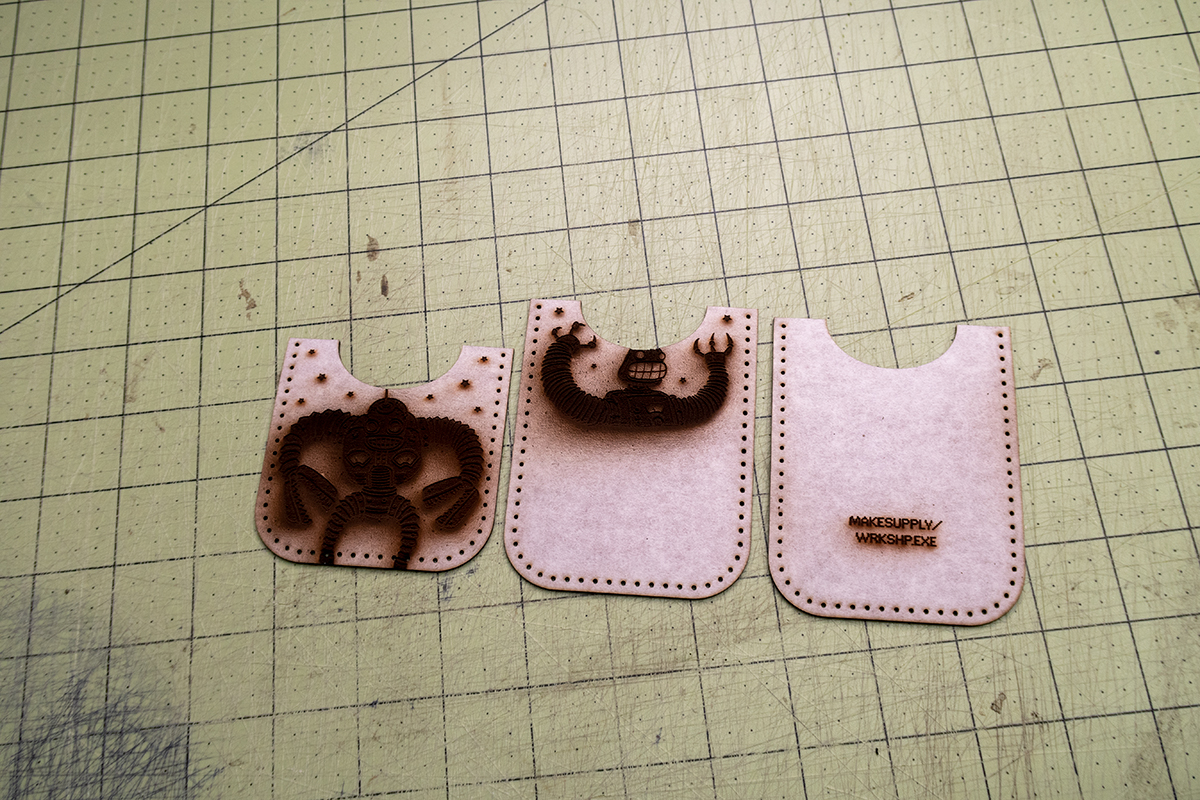
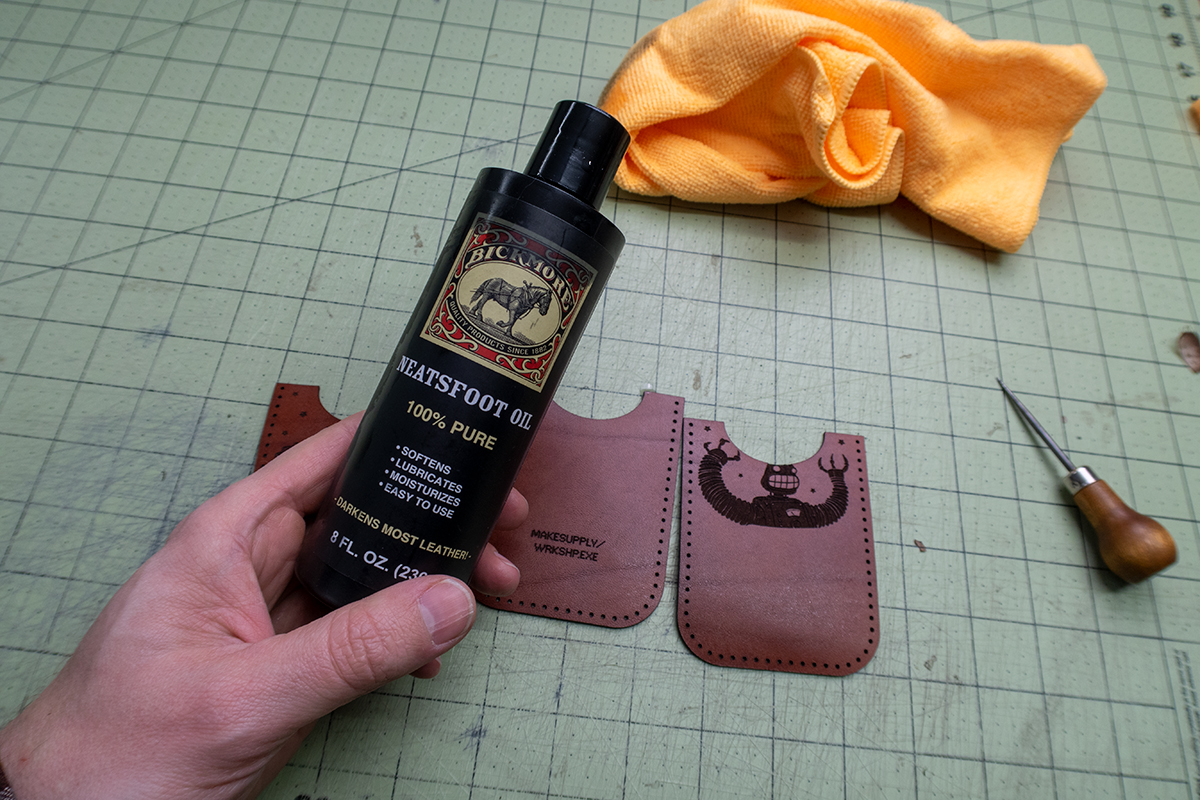
Laser Burn Clean Up
Next I removed the masking tape and started cleaning the surface. I start by lightly brushing the surface with a dry microfiber cloth to remove the excess soot. Next I use some 100% neatsfoot oil on a microfiber cloth to clean the rest. Dont go overboard with the oil or it will pool in the engraved areas.
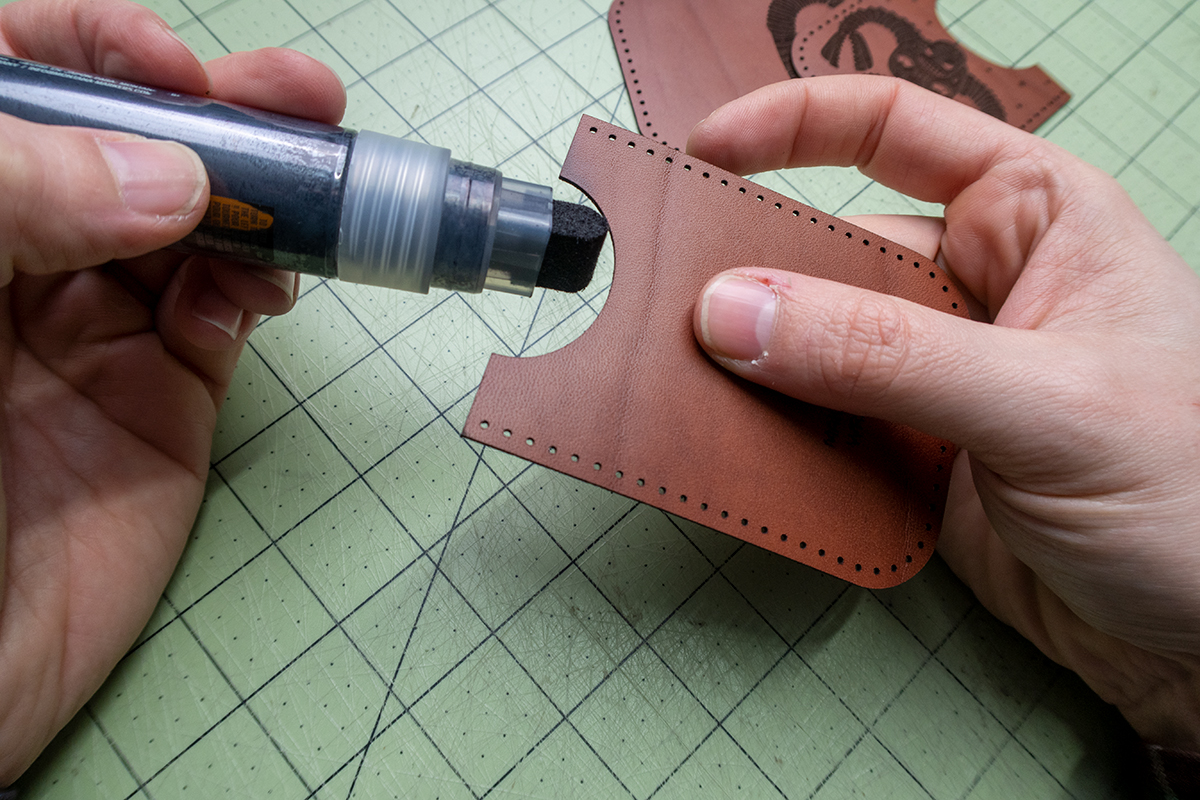
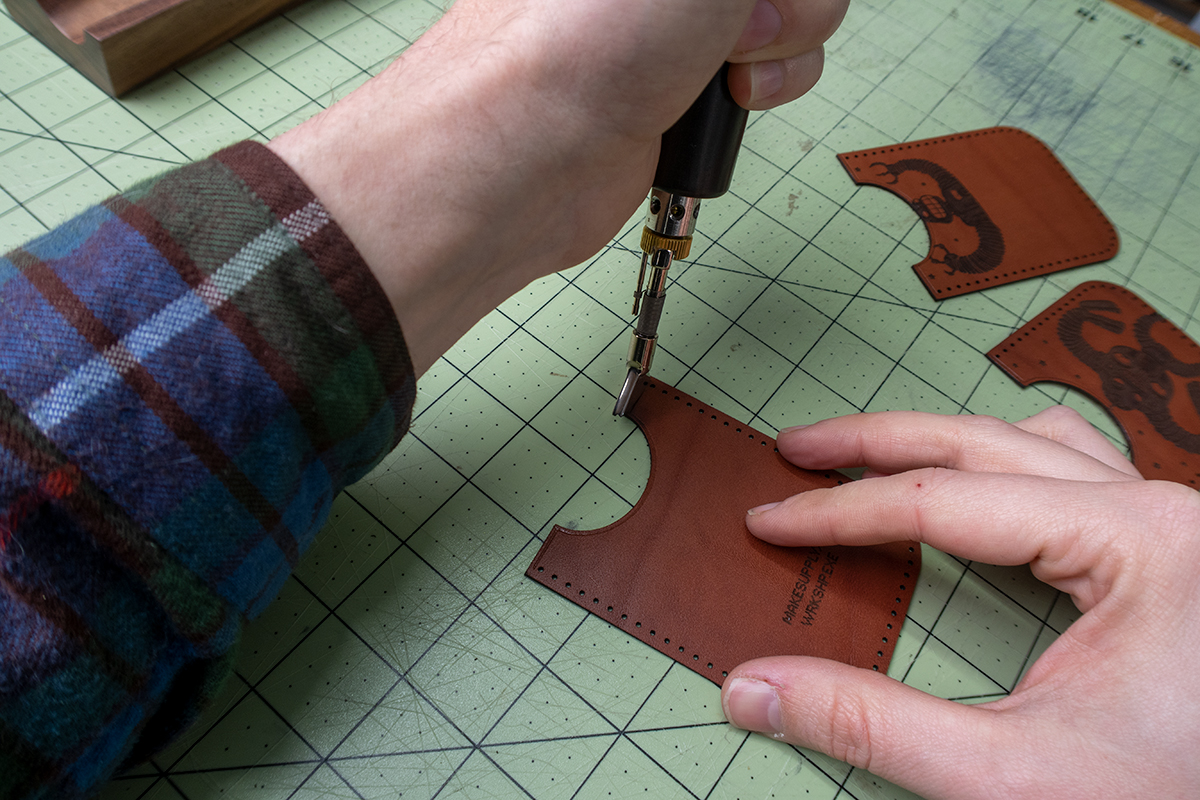
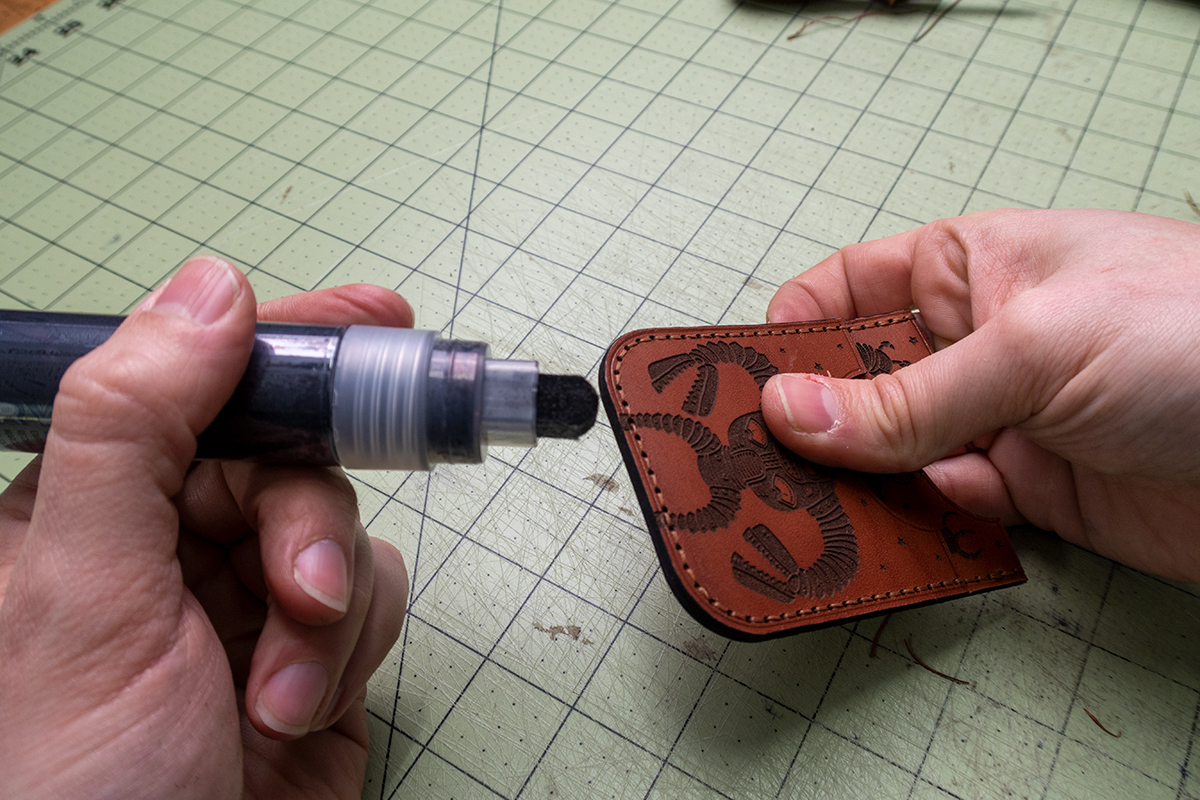
The Top Edge
Next I sand, dye and burnish the top edges of the wallet pieces. I am using some Fiebings Pro black dye in an empty paint marker to apply. Highly suggest it! I also run a crease around the edge with my electric edge creaser. This step is completely subjective.
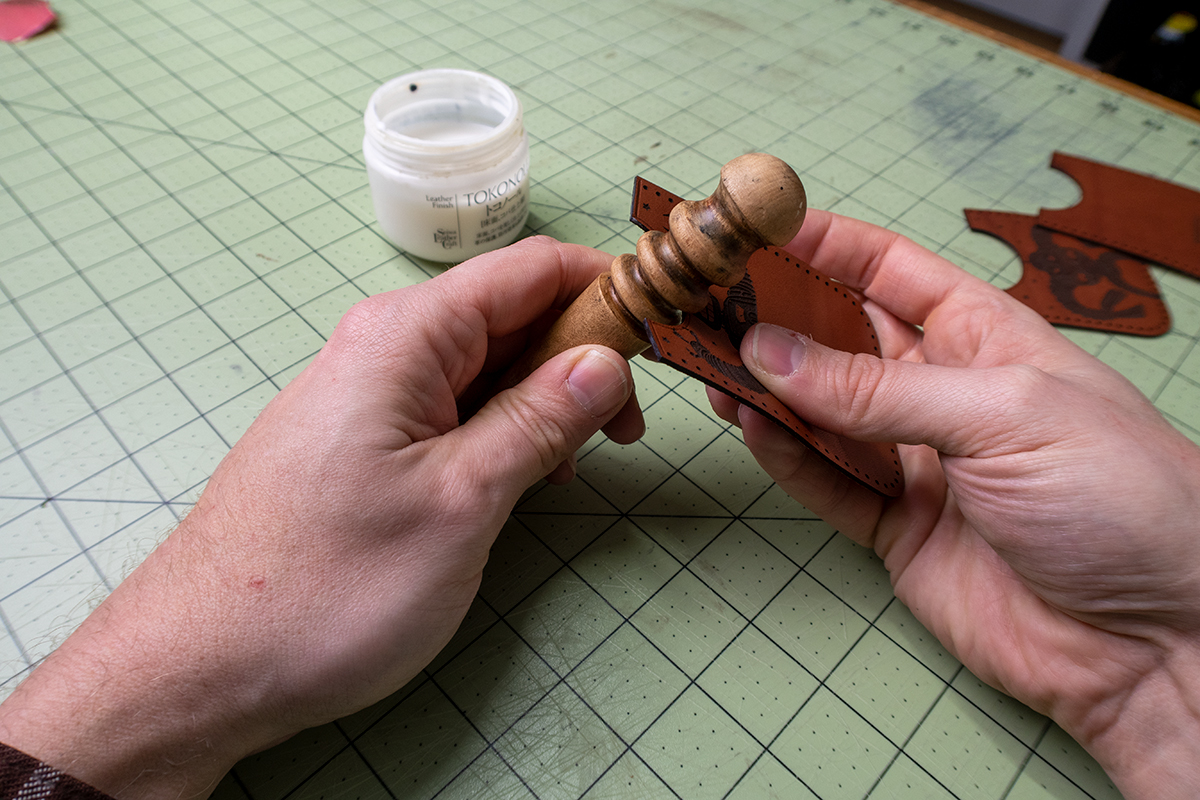
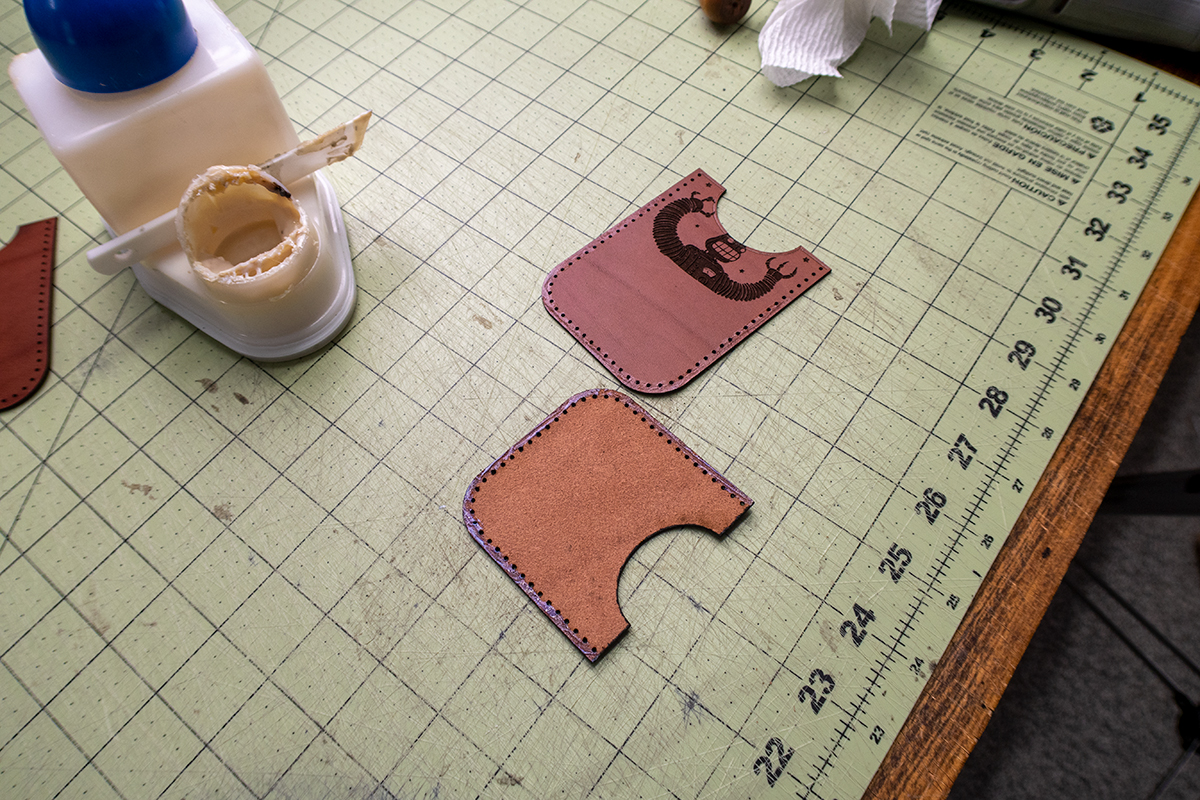
Gluing It Up
First glue the front card slot to the front panel. Next the front panel assembly to the back. I am using a water based adhesive called Aquilim 315 (link above). Use the glue sparingly or it will pool into the cut holes. If that happens use a scratch awl to remove the excess. Once it dries its not a big deal. Gluing the edges properly at this step will allow you to have a nice burnished edge at the end.
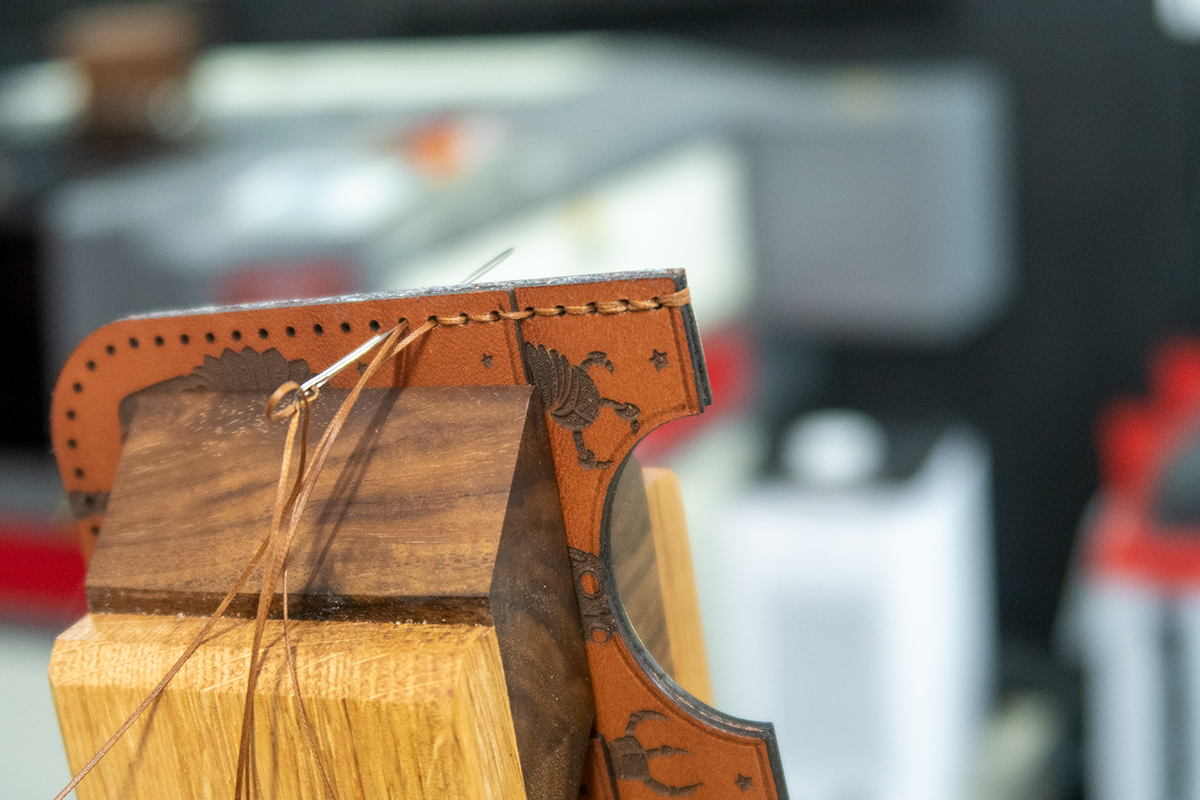
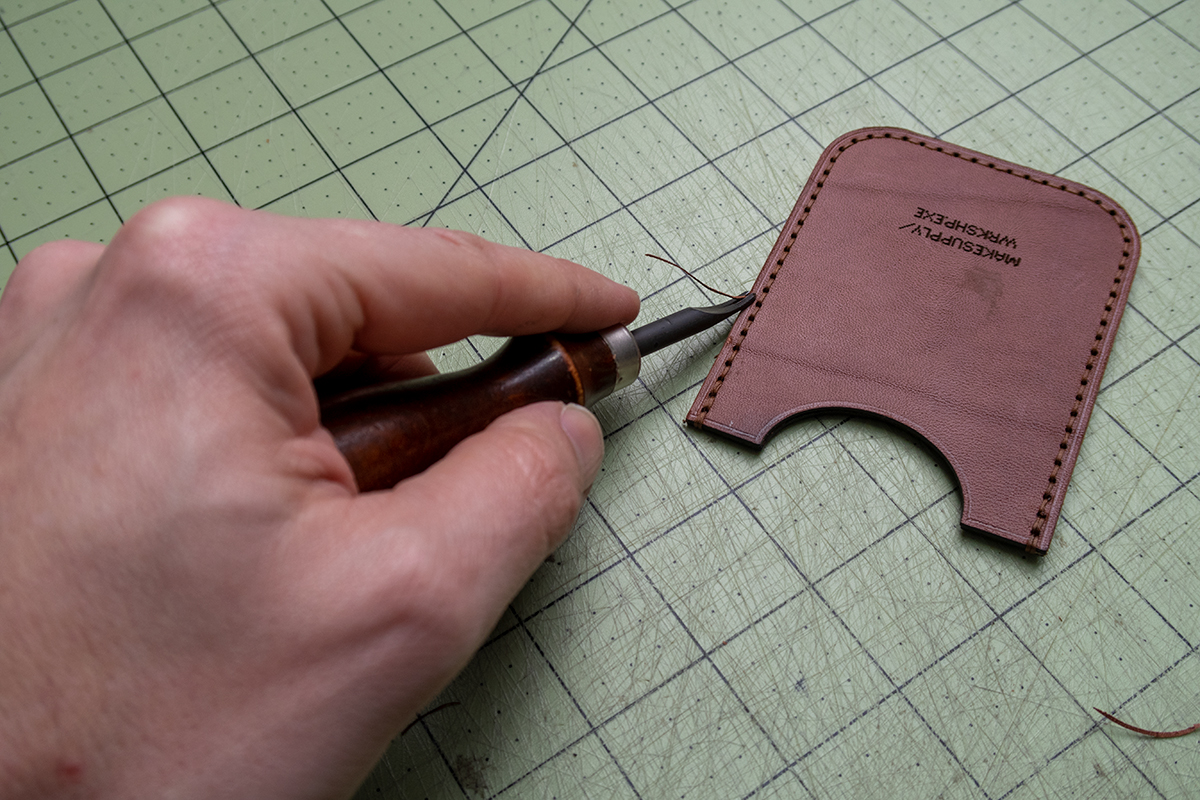
Handstitching
For handstitching I am using a .6mm Ritza Tiger Thread. The holes are ~1mm in diameter so there is enough room to size up to a .8mm if you would like thicker thread. I wouldnt do much above .8mm or below .6mm.
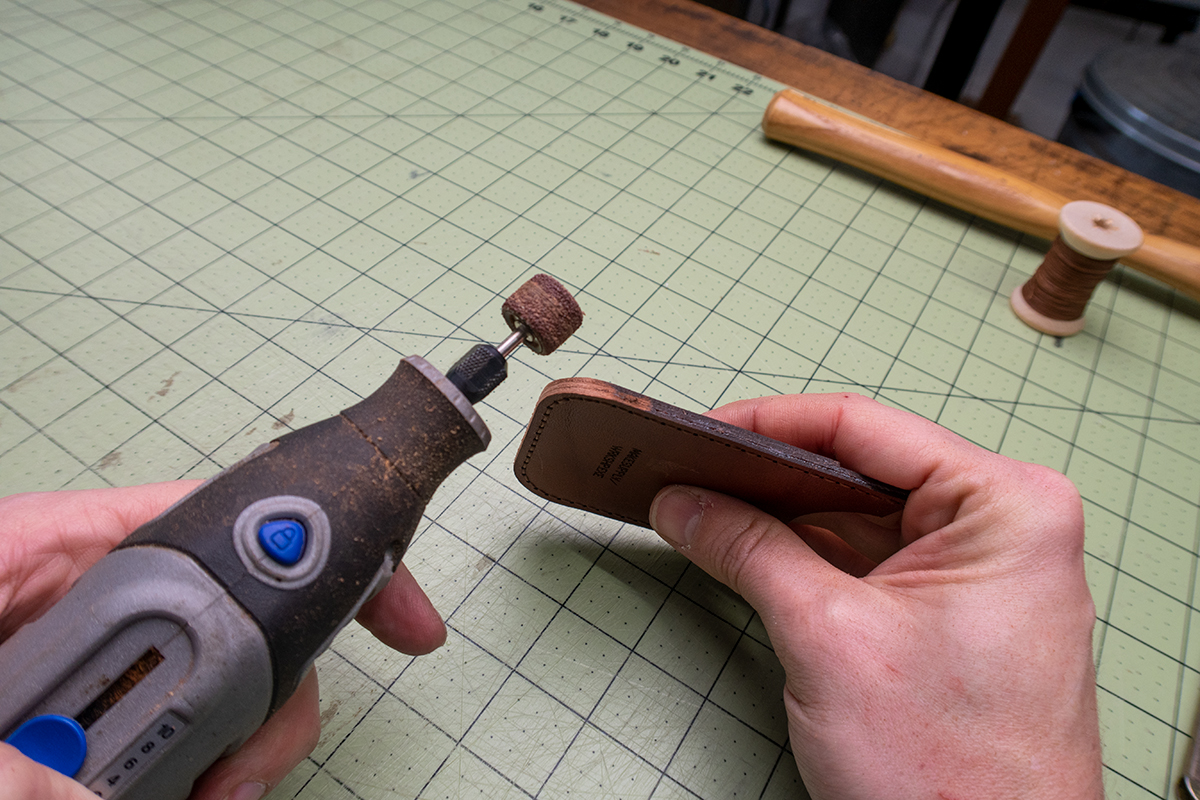
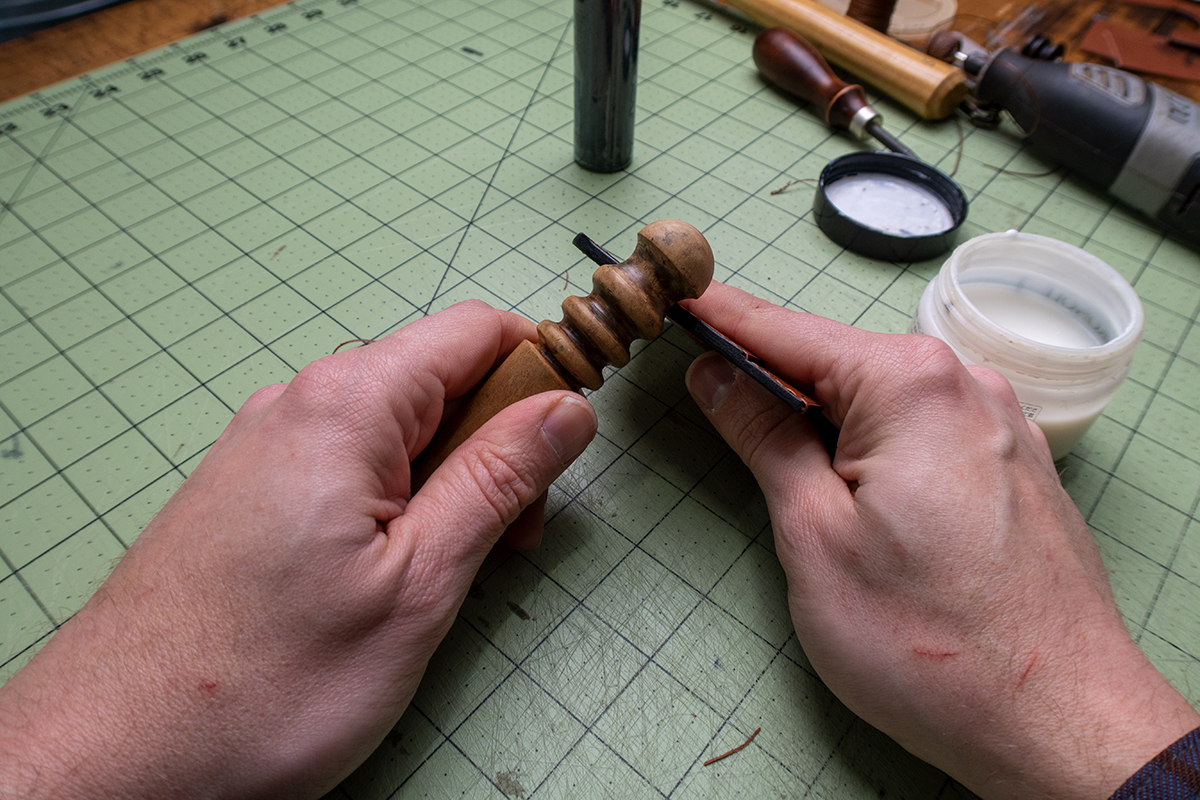
Final Edge Finishing
Final step is to sand, bevel, dye, and burnish the body edges. I used a dremel with a sanding bit to remove all of the laser soot and glue spillover. HIGHLY SUGGEST putting on a mask for this step since it will be kicking up all that nasty stuff into the air around you. After sanding the edge should be nice and clean and you can finish as you normally would from there.
Guidelines of Template Usage
We put a lot of time and effort into producing these templates, videos, and blog posts. Please do not distribute the template you have purchased from Makesupply. It’s not cool and hurts our feelings (CRY EMOJI). However, you are free to do whatever you want with the end product you create using the temp