Making a leather journal cover is one of those projects that looks complicated but really isn’t. The hardest part used to be figuring out the dimensions — measuring, doing the math, hoping you got it right before cutting into your leather. We took care of that part. Use the calculator below to get your exact template size, then follow the steps to build it out.
This works for hardcover journals like the Leuchtturm, soft cover notebooks, and traveler style covers. Pick your style and let’s get into it.
▶️ Watch instructional video on YouTube
Use the Calculator First
Before you cut anything, grab your measurements and run them through the calculator. It’ll give you your main cover size and inside panel dimensions based on your specific notebook.
Leather Journal Cover Size Calculator
Enter your notebook’s measurements to get template dimensions
| Hole 1 | from top edge |
| Hole 2 | from top edge |
| Hole 3 | from top edge (center) |
| Hole 4 | from bottom edge |
| Hole 5 | from bottom edge |
These dimensions work for most standard journals and notebooks, but every book is a little different — we recommend testing with paper before cutting leather.
Step 1 — Measure Your Journal
Grab your journal and a flexible measuring tape. Wrap it around the full width of the journal — front cover, spine, back cover all in one measurement. That’s your width number.
Then measure the height straight up the front cover.
Don’t stress about being perfectly precise here. If your tape lands between numbers, round to the nearest easy number. Our example journal came out to 300mm wide by 210mm tall.

Step 2 — Get Your Template Dimensions
Take those two measurements and plug them into the calculator above. Select your units (mm or inches), select your journal style, enter your width and height, and the calculator will give you:
- Your main cover template size
- Your inside panel size (cut two of these)
For our 300mm × 210mm example, the calculator gives us a 325mm × 230mm main cover and two 90mm × 230mm inside panels.
Write those numbers down. You’ll need them in the next step.

Step 3 — Trace and Cut the Leather
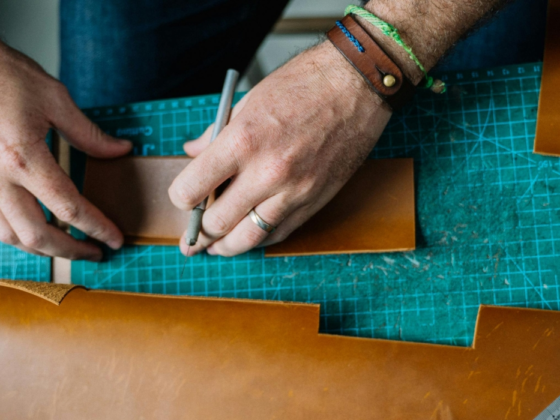
Use a scratch awl and cork-back ruler to trace your pieces onto the leather. Cut them out with a knife against the ruler edge. Straighter cuts = a easier time in future steps.
One thing worth doing here: when you cut your inside panels, leave a small margin on the short sides — the top and bottom. Don’t cut them exactly to size yet. Once they’re glued in place you’ll trim the excess to fit, which gives you a much cleaner finished edge. Not required, but worth it.

Step 4 — Finish the Inside Panel Edges (Optional)
Before everything gets stitched together, you have one shot at finishing the inside edges of your panels — the long edge that faces inward once the cover is assembled.
Pick one long edge on each panel. Apply a little Tokonole and hand burnish it with a wood slicker. If you want to dye or paint those edges, do it now. Once the panels are stitched on, you can’t get back in there.

Step 5 — Glue the Panels in Place
Apply leathercraft glue or contact cement to the back of each panel and the corresponding area on the main cover. Let it tack up, then press them into position.
Important: don’t apply glue along the finished inside edge you just burnished. That edge stays free.
If you left extra margin on the top and bottom like we suggested, you’ll need to add a bit of extra glue along those edges to make sure they bond fully.

Step 6 — Trim the Excess and Cut Corners
With the panels glued down, use the main cover as your guide and trim off any excess from the top and bottom edges. Take it slow — one pass at a time.
If you want rounded corners, now is the time. Grab a coin that’s about the radius you want, trace it in the corner, and cut along the line. Do this before punching any holes.

Step 7 — Mark, Punch, and Saddle Stitch the Panels
Use a wing divider set to 3–3.5mm to mark a stitching line around the edge of each panel on both sides of the cover.
When it comes to punching holes with your stitching chisel, order of operations matters — especially at the corners. Here’s the sequence:
- Start in one corner and punch up toward the finished long edge of the panel
- Go to the opposite corner and do the same
- Punch along the long edge until you connect the two runs
This keeps your corner holes at a clean 90 degrees. If the spacing doesn’t divide evenly along the long edge, gradually adjust your spacing toward the end of the run rather than cramming an extra hole in.
Stitch using a traditional saddle stitch. A stitching pony helps, but holding it between your knees works just as well.


Step 8 — Finish All Edges
Whatever you did to the inside panel edges, repeat it on everything else. Bevel all the outer edges with an edge beveler, apply Tokonole, and burnish by hand with a wood slicker.
That’s it for the standard hardcover or soft cover build. If you’re making a traveler style cover, keep reading.


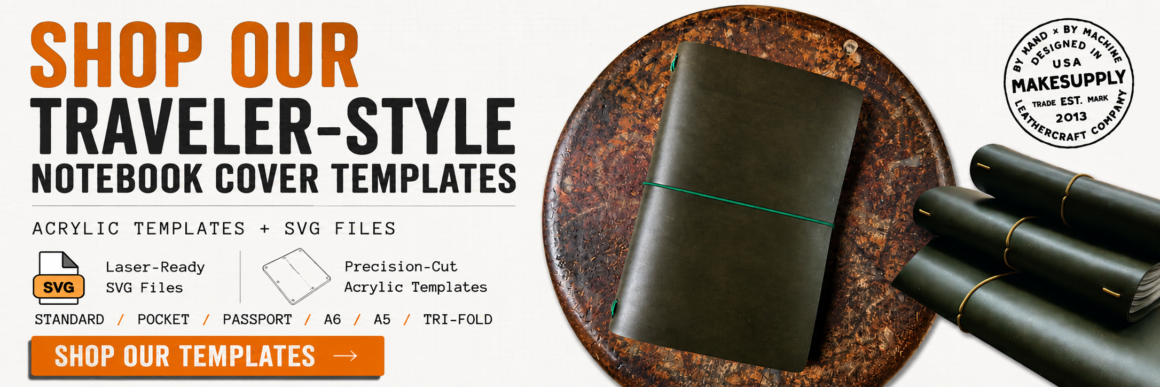
Traveler Style Cover — Soft Cover Notebooks
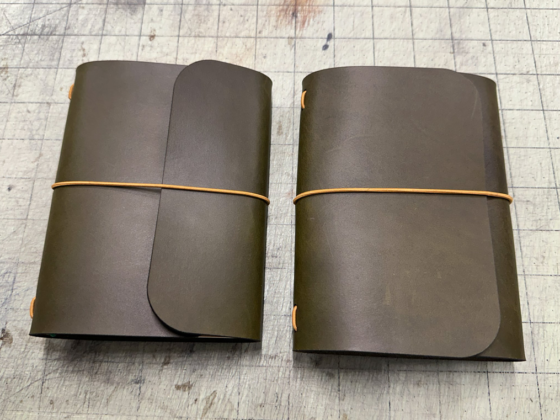
The traveler style is a different animal. No inside panels, no stitching. Instead, the notebook slides into the cover held in place by an elastic cord that runs through the spine.
The process for measuring and cutting is the same — wrap your tape around the notebook and measure the height — but make sure you select Traveler Style (Soft Cover) in the calculator. You’ll get different template dimensions and instead of panel sizes, the calculator gives you hole placement for your elastic.
Learn what is a travelers notebook if you’re unsure this is the style you want to make.
Traveler Style Steps
Cut your template. Same process as before — trace onto leather and cut out your main cover piece using the dimensions from the calculator.
Punch your elastic holes. The calculator gives you five hole positions along the vertical center of the cover (fold the template in half widthwise to find the center line). For the top and bottom pairs, use a 2mm hole punch. For the center hole, use a 4mm hole punch. The larger center hole is where the elastic knot sits.
Thread your elastic. We used 2mm round elastic cord. 1.5mm also works well. Thread it through the holes, tie a knot at the center hole, and you’re done. No stitching required.
Finish your edges. Same as the standard build — bevel, Tokonole, burnish.


A Note on Leather Thickness
We recommend 1.5–2mm leather on average for your journal cover. You can go a little thicker or thinner and it’ll still work, but push too far outside that range and we can’t guarantee the calculator dimensions will give you a proper fit. At that point you’re better off doing some test cuts in card stock before committing to leather.
If you’re making a traveler style cover, stick to 2mm. The cover needs enough structure to hold its shape without inside panels supporting it. Especially if you’re using a softer leather.
That’s It
Once you’ve done one of these, the second one takes half the time. The calculator does the math, you do the cutting and stitching. If you run into fit issues, the most common culprit is the width measurement — make sure you’re wrapping the tape all the way around the spine, not just measuring one cover flat.
Tag us if you make one. We’d love to see it.