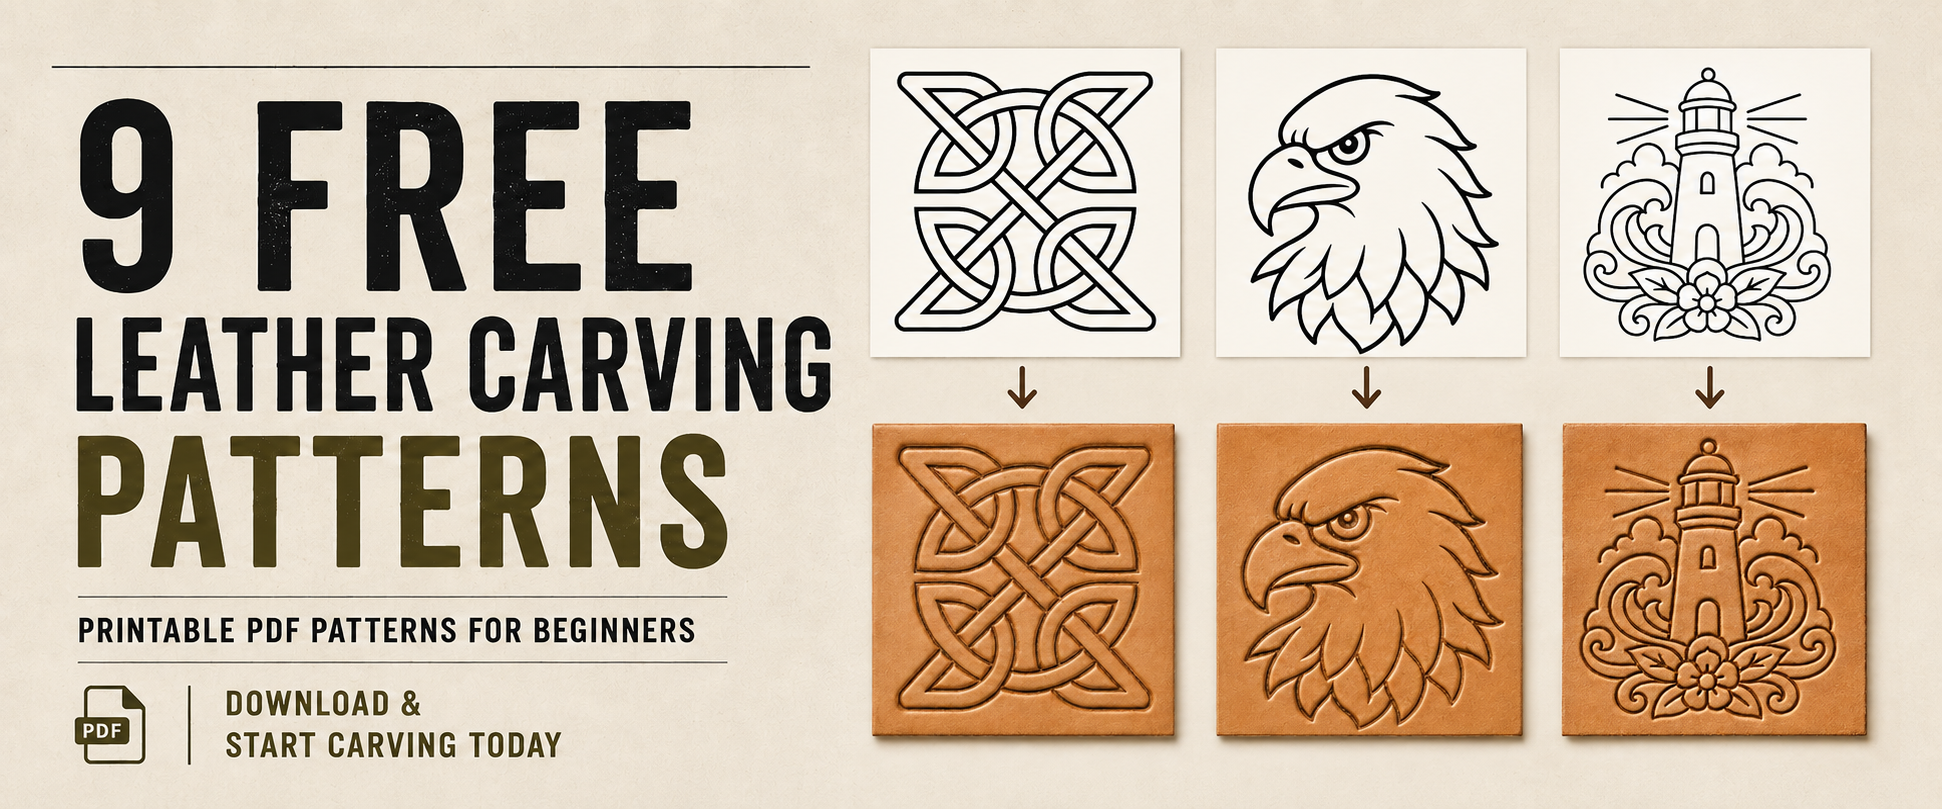
Download all 9 free leather carving patterns below in printable PDF format—no email or signup required. Each design includes clean line art for transferring to leather, a finished carved example, and US Letter and A4 print sizes.
Each pattern includes the line art to transfer to your leather along with a finished example showing how the design can look when carved into vegetable-tanned leather. Every pattern is available in US Letter and A4 formats, with both a larger (around 5″/5.5″) version and smaller (around 3″/3.5″) version included. You can also adjust your printer scale if you need a different size for your project.
1. Lighthouse Leather Carving Pattern
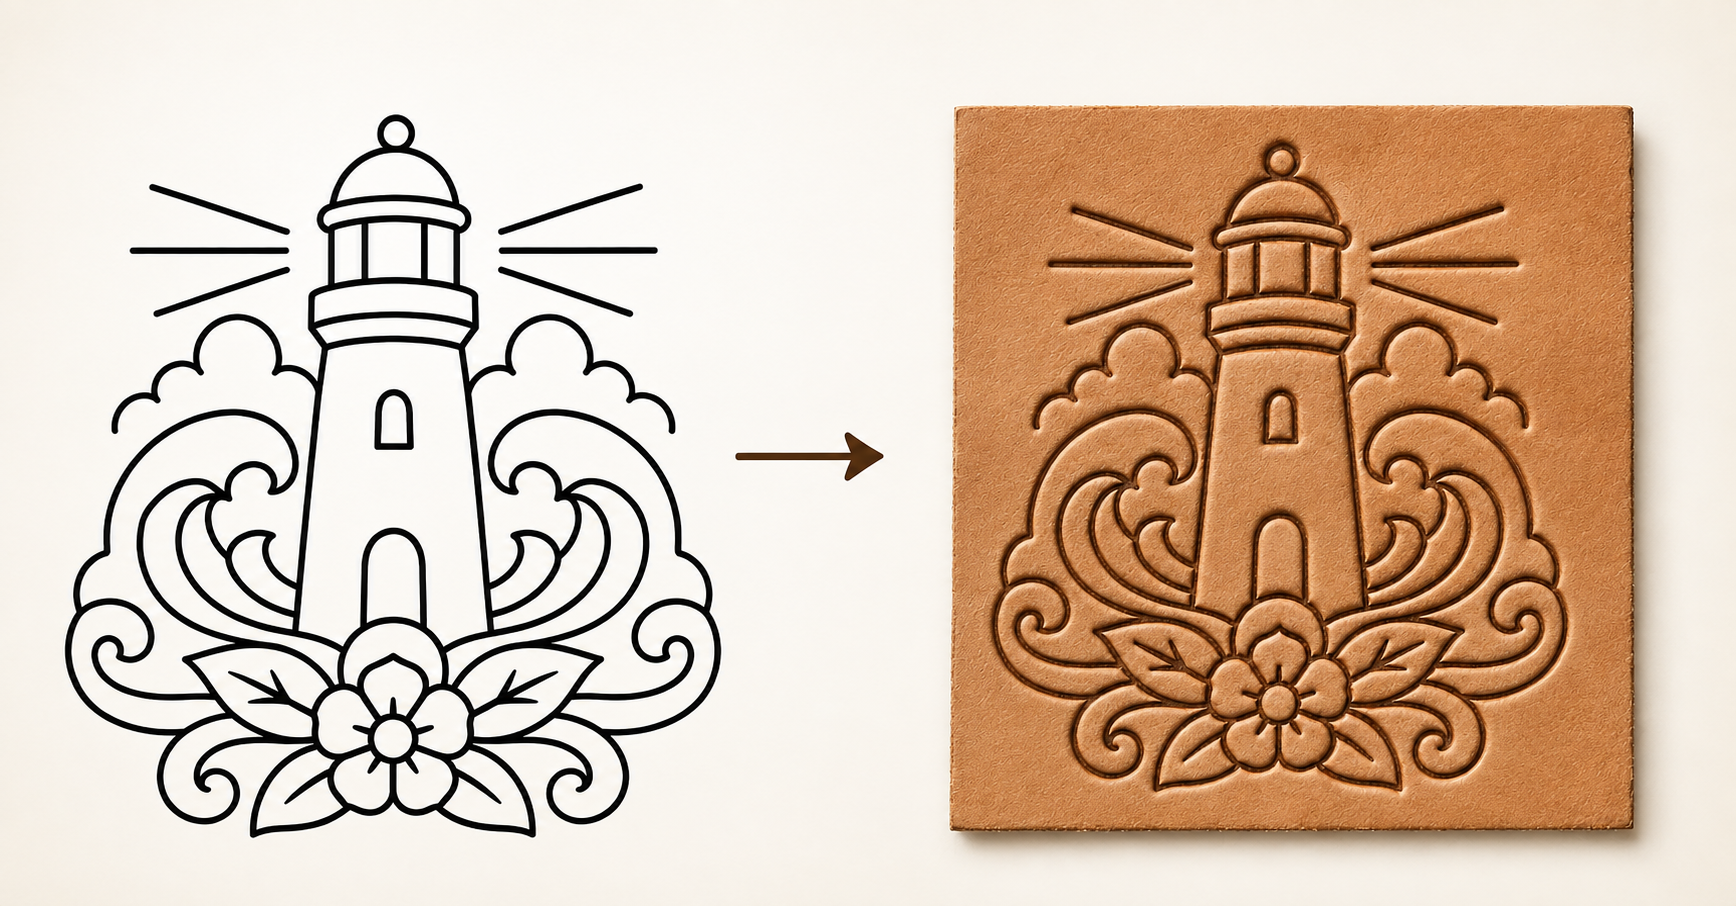
This lighthouse pattern combines a simple coastal scene with waves, clouds, a flower, and rays of light around the lighthouse. There are more individual elements here than in some of the other beginner patterns, but each one is made from relatively simple lines and shapes. It is a good next step once you’re comfortable carving basic outlines and want to practice creating separation between overlapping elements.
⬇️ DOWNLOAD FREE PDF PATTERNFree Lighthouse Leather Carving Pattern Print Out - 1.62 MB
2. Eagle Head Leather Carving Pattern
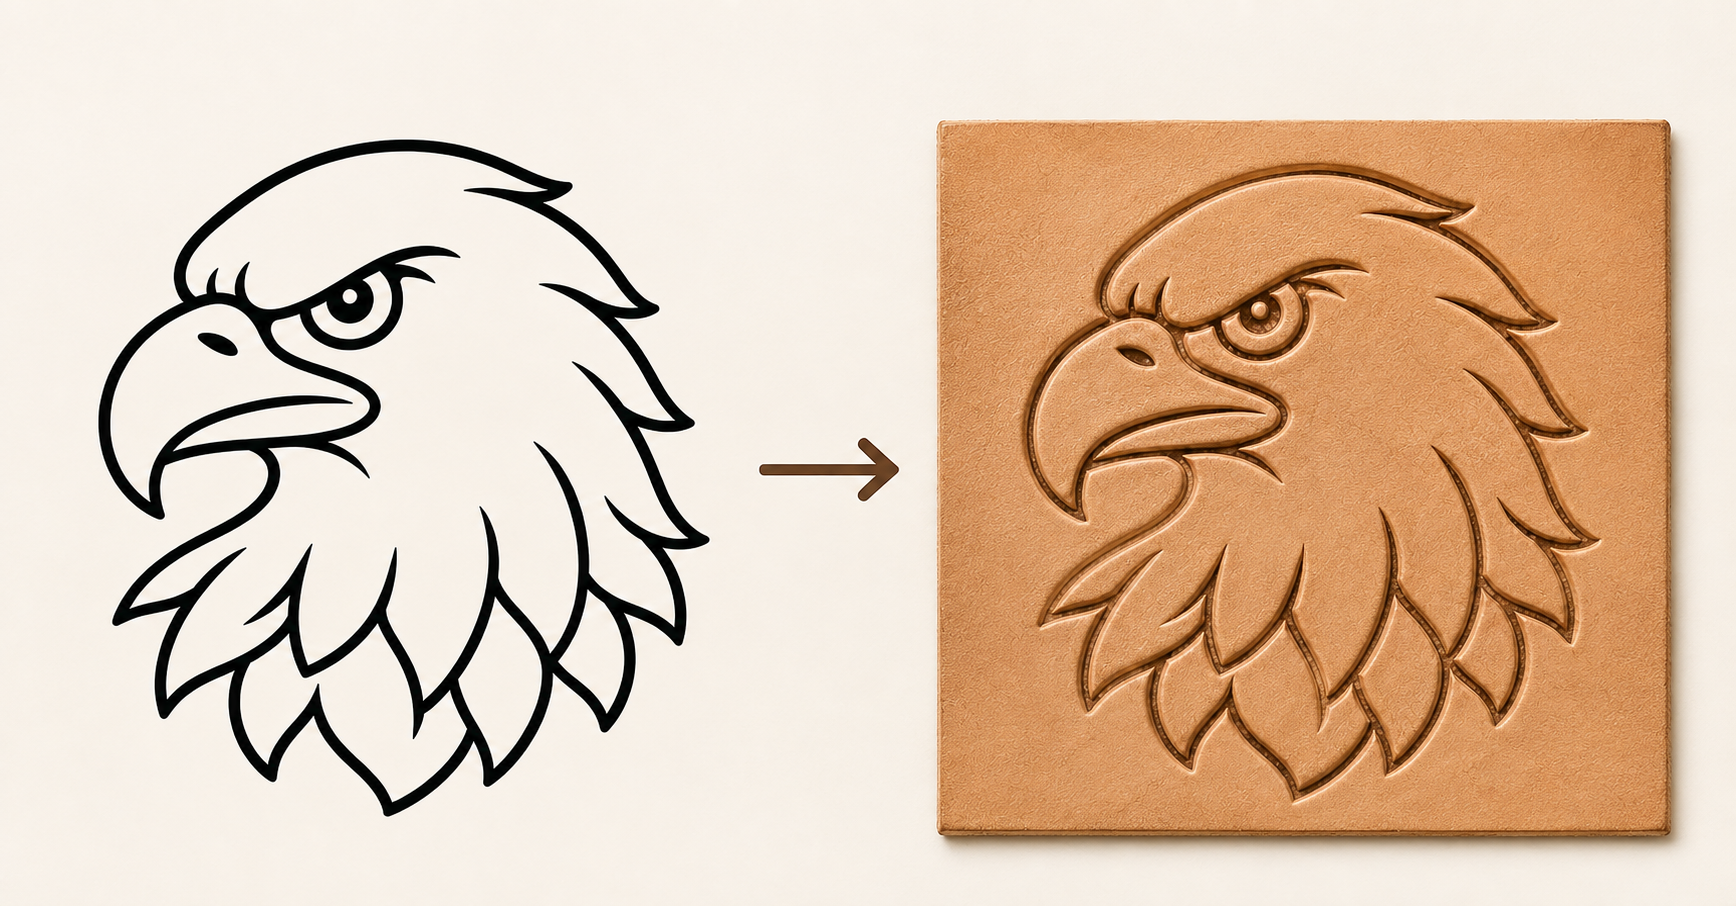
The eagle head pattern uses a bold profile with simplified feather shapes, making it much more approachable than a highly detailed wildlife carving. The large sections around the beak, eye, and feathers give you plenty of room to practice basic swivel knife cuts and beveling while still producing a recognizable finished design.
⬇️ DOWNLOAD FREE PDF PATTERNFree Eagle Head Leather Carving Pattern Print Out - 1.48 MB
3. Moon Landscape Leather Carving Pattern

This simple landscape pattern places mountains, pine trees, and a rising sun inside a large crescent moon. The design has a cleaner, more modern look than the traditional floral and Western patterns commonly associated with leather carving. Most of the pattern consists of long, straightforward cuts, making it a good choice for practicing line control without a lot of complicated beveling.
⬇️ DOWNLOAD FREE PDF PATTERNFree Moon Landscape Leather Carving Pattern Print Out - 1.75 MB
4. Ship Anchor Leather Carving Pattern

The anchor is another traditional nautical design that translates especially well to carved leather. This version combines a large anchor with rope, leaves, and a simple flower while keeping the individual shapes large enough for beginner-friendly carving. The rope provides a fun area to practice repeated beveling and texture while the anchor itself gives the design a strong, easy-to-follow central shape.
⬇️ DOWNLOAD FREE PDF PATTERNFree Ship Anchor Leather Carving Pattern PDF Print Out - 1.50 MB
5. Celtic Knot Leather Carving Pattern

This Celtic knot pattern is built around a continuous interwoven design, with each section clearly passing over or under the next. It is a great pattern for practicing clean curved cuts and careful beveling, especially where the different sections of the knot overlap. Keeping track of the over-and-under pattern is what gives the finished carving its woven appearance.
⬇️ DOWNLOAD FREE PDF PATTERNFree Celtic Knot Leather Carving Pattern PDF Print Out - 1.49 MB
6. Nautical Compass Leather Carving Pattern

This nautical compass design combines a pocket-watch-style frame, an eight-point nautical star, and two simple roses. The geometric center is useful for practicing straight cuts and keeping your carving symmetrical, while the flowers and leaves introduce a few softer curves. It makes a nice practice piece if you want to work on both geometric and organic shapes in the same design.
⬇️ DOWNLOAD FREE PDF PATTERNFree Compass Star Leather Carving Pattern PDF Print Out - 1.49 MB
7. Sailing Ship Leather Carving Pattern

This sailing ship pattern is inspired by classic nautical and traditional tattoo artwork but simplified for leather carving. Large sails, rolling waves, a banner, and a small flower create an interesting design without relying on fine shading or extremely small details. The overlapping elements also give you several opportunities to use beveling to create depth between the ship, waves, and foreground.
⬇️ DOWNLOAD FREE PDF PATTERNFree Sailing Ship Leather Carving Pattern PDF Print Out - 1.50 MB
8. Tiger Head Leather Carving Pattern

This tiger head is the most detailed pattern in the collection, but the artwork has been simplified into bold shapes that are much easier to carve than a realistic tiger. The eyes, muzzle, stripes, and open mouth provide plenty of opportunities to practice beveling and creating depth. If you’ve already completed a few of the simpler patterns above, this is a good one to try when you’re ready for something a little more challenging.
⬇️ DOWNLOAD FREE PDF PATTERNFree Tiger Head Leather Carving Pattern PDF Print Out - 1.53 MB
9. Butterfly Leather Carving Pattern
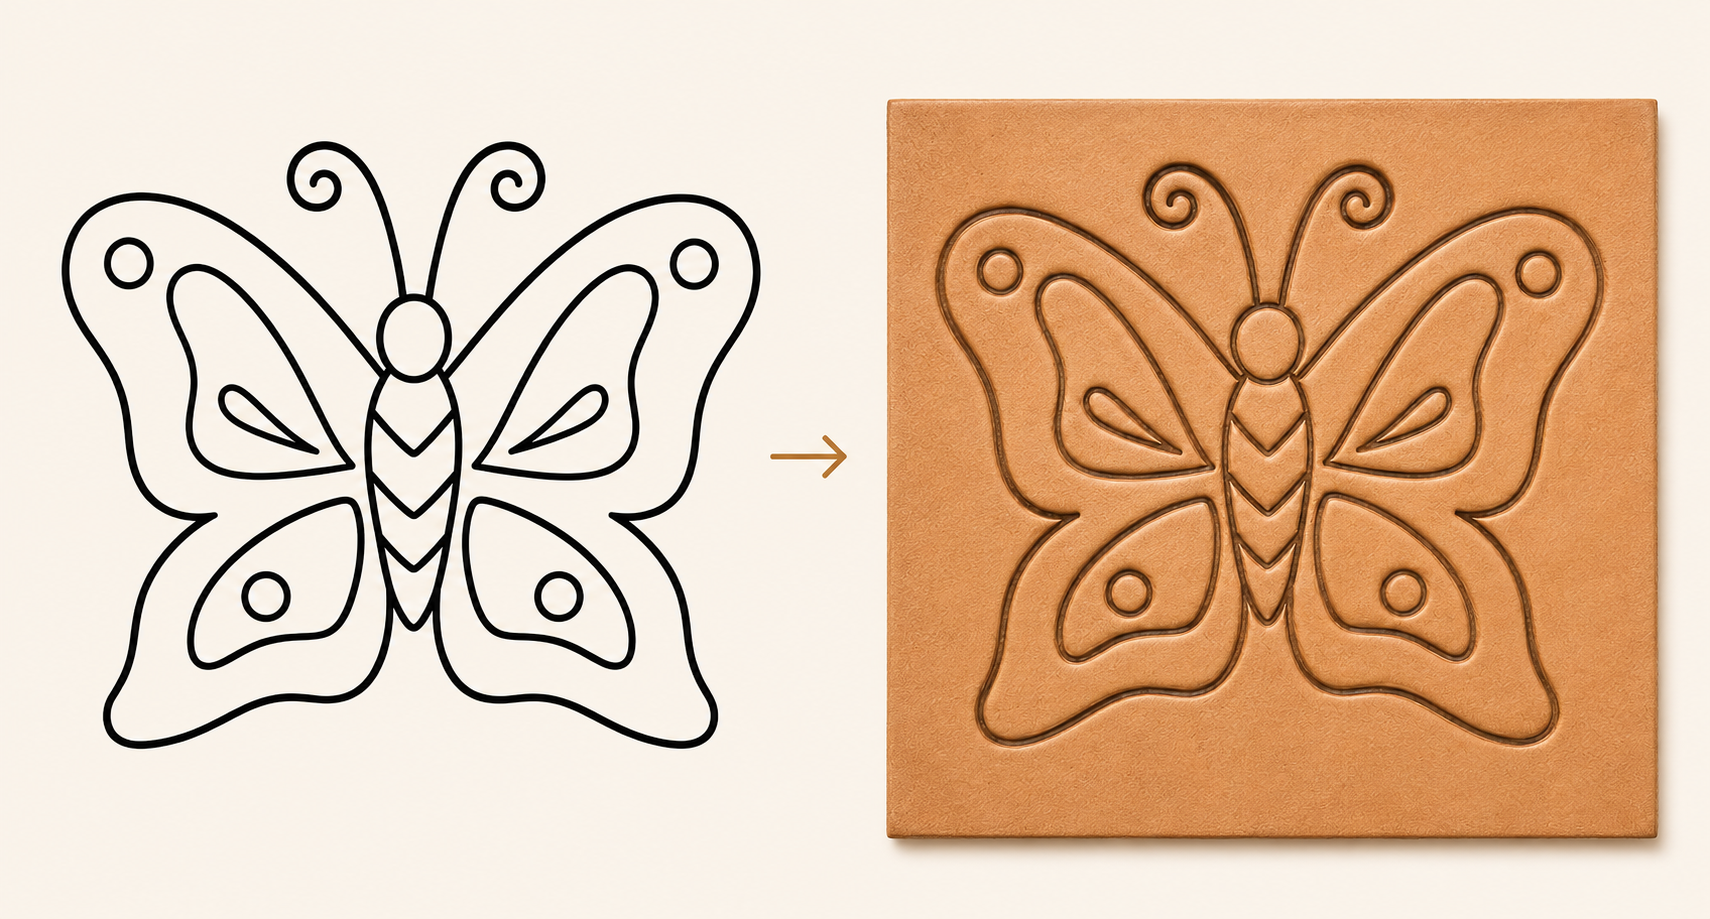
This simple butterfly pattern is a good starting point for anyone new to leather carving. The design uses large, flowing curves and open spaces without a lot of tiny details, making the lines easier to transfer and cut with a swivel knife. The symmetrical wings also give you a good opportunity to practice consistent beveling on both sides of the design.
⬇️ DOWNLOAD FREE PDF PATTERNFree Butterfly Leather Carving Pattern PDF Print Out - 1.47 MB
How to Print and Transfer Your Leather Carving Pattern

Each PDF includes the tooling pattern in two sizes: Large and Small. Choose the size that works best for your project, print it out, and transfer the design to your leather before carving.
Printing the Pattern
For the included 5″ and 3″ sizes, print the PDF using 100% or Actual Size in your printer settings.
Avoid settings such as Fit to Page or Scale to Fit, as these may change the dimensions of the pattern.
Need a Different Size?
You can easily make the pattern larger or smaller using the scale or custom scale option in your printer settings.
Using the 5″ pattern as an example:
- 100% = 5″
- 80% = 4″
- 60% = 3″
- 120% = 6″
You aren’t limited to these sizes. Adjust the percentage as needed for your project.
Keep in mind that scaling a pattern down significantly can make some of the smaller details more difficult to carve and bevel.
If the finished size is important for your project, measure the printed pattern before transferring it to your leather.
Method 1: Transfer With Tracing Film
Using leather tracing film is the traditional method and gives you a reusable copy of the pattern.
What You’ll Need
- Printed pattern
- Leather tracing film
- Pencil or ballpoint pen
- Ballpoint stylus or modeling tool
- Vegetable-tanned leather
- Water and a sponge or spray bottle
Step 1: Trace the Printed Pattern
Place a piece of tracing film over the printed pattern. The film is transparent, so you should be able to easily see the design underneath.
Trace the design onto the film using a pencil or ballpoint pen.
Step 2: Case Your Leather
Lightly dampen the grain side of your vegetable-tanned leather with clean water.
Allow the water to absorb into the leather. You want the leather evenly damp and able to accept an impression, but not soaking wet.
Step 3: Position the Tracing Film
Place the tracing film over your leather and position the design where you want it.
Make sure the film can’t move while you’re transferring the pattern. You can use a small piece of tape to help hold it in position if necessary.
Step 4: Transfer the Pattern
Using a ballpoint stylus or similar modeling tool, trace over the lines of the design using firm, even pressure.
The pressure from the stylus will leave a light impression of the pattern in the damp leather.
Step 5: Check Your Transfer
Before completely removing the tracing film, carefully lift one corner and check that all of the lines have transferred.
If you missed anything, lay the film back down and go over those areas again.
Once everything looks good, remove the tracing film.
Your pattern is now ready to be cut with a swivel knife.
Method 2: Transfer Directly From Regular Printer Paper
Don’t have tracing film? You can also transfer the pattern directly from the printed PDF using regular printer paper.
This isn’t quite as clean or convenient as using tracing film, but it works well for simple patterns and is a quick way to get started without buying anything special.
It’s also a method I use myself when I just need to make a quick transfer.
What You’ll Need
- Printed pattern on regular printer paper
- Vegetable-tanned leather
- Water and a sponge or spray bottle
- Ballpoint pen, stylus, or similar blunt-pointed tool
Step 1: Case Your Leather

Wet your vegetable-tanned leather and allow the water to absorb. You can use a spray bottle, or, just place it in a shallow pan of water and allow it to absorb.
The leather should be wet enough to accept an impression without being soaking wet.
Step 2: Position the Printed Pattern

Place the regular paper printout directly on top of the cased leather.
Position the design where you want it and make sure the paper can’t move while you’re tracing.
Step 3: Trace the Design

Trace directly over the printed lines using a ballpoint pen, stylus, or similar tool.
Use firm, even pressure.
You aren’t trying to draw on the leather with the pen. The pressure from the tip pushes through the paper and creates a light impression in the damp leather underneath.
Step 4: Check Before Removing the Paper
Carefully lift one corner of the paper and check your transfer.
If you missed any lines, put the paper back down without changing its position and trace those areas again.
Once you remove the paper completely, getting it perfectly aligned again can be difficult.
A Note About Regular Paper
Regular printer paper will absorb some moisture from the cased leather. It may start to become soft, wrinkled, or slightly translucent while you’re working.
For that reason, try to complete the transfer without moving or repositioning the paper.
It’s not as durable or reusable as tracing film, but for transferring a simple pattern one time, regular printer paper works just fine.
Just move quickly, lol.
After Transferring the Pattern

Whichever method you use, take a moment to look over the entire design before you start carving.
The transferred lines should be visible enough to follow without creating excessively deep impressions in the leather.
Once you’re happy with the transfer, use the impressed lines as your guide for your swivel knife cuts.
From there, you can begin practice on carving, beveling, and tooling your design.
I’ll be right there practicing with you because I am HORRIBLE at this 😂😂
Which Leather Carving Pattern Should a Beginner Start With?
If this is your first time using a swivel knife, start with a pattern that has large shapes, open spaces, and long, easy-to-follow lines. The butterfly and moon landscape are the most forgiving choices in this collection. Once you feel comfortable controlling the knife and beveling basic edges, move on to designs with more curves, overlapping elements, and smaller details. There is no required order, but the groupings below provide a useful progression.
Best First Patterns
- Butterfly — Large flowing curves, open spaces, and a symmetrical design.
- Moon Landscape — Long, straightforward cuts with relatively little detailed beveling.
- Eagle Head — Bold outlines and large sections around the beak, eye, and feathers.
A Good Next Step
- Celtic Knot — Introduces tighter curves and careful over-and-under beveling.
- Ship Anchor — Adds rope texture, leaves, and overlapping shapes.
- Lighthouse — Combines several simple elements into a more involved scene.
- Nautical Compass — Requires more control when cutting straight lines and maintaining symmetry.
More Challenging Patterns
- Sailing Ship — Features several overlapping layers, including the sails, waves, banner, and foreground.
- Tiger Head — The most detailed pattern in the collection, with smaller shapes and more areas requiring careful beveling.
Can These Be Used as Leather Tooling Patterns?
Yes! Leather carving usually refers to cutting the design lines with a swivel knife, while leather tooling also includes techniques such as beveling, backgrounding, shading, and stamping. These printable line-art patterns can be used for both carving and tooling practice.
Want a Leather Project to Carve?
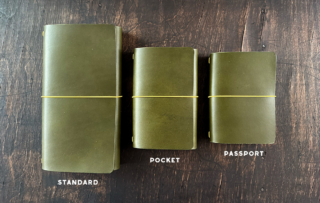
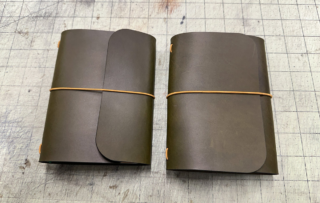
Once you’ve practiced the design on scrap leather, try adding it to one of these free journal-cover patterns. Their large, uninterrupted panels provide plenty of room for carving and tooling.