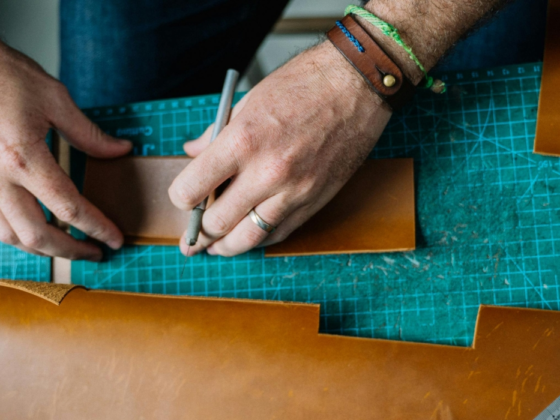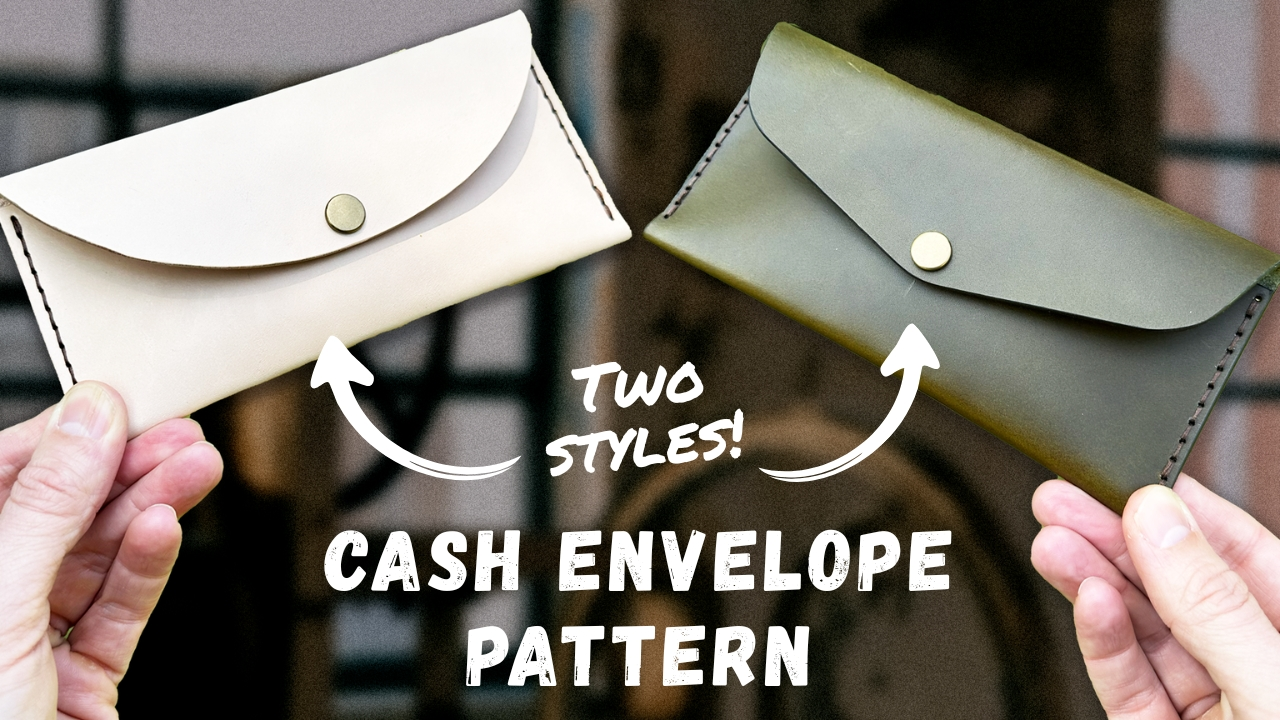
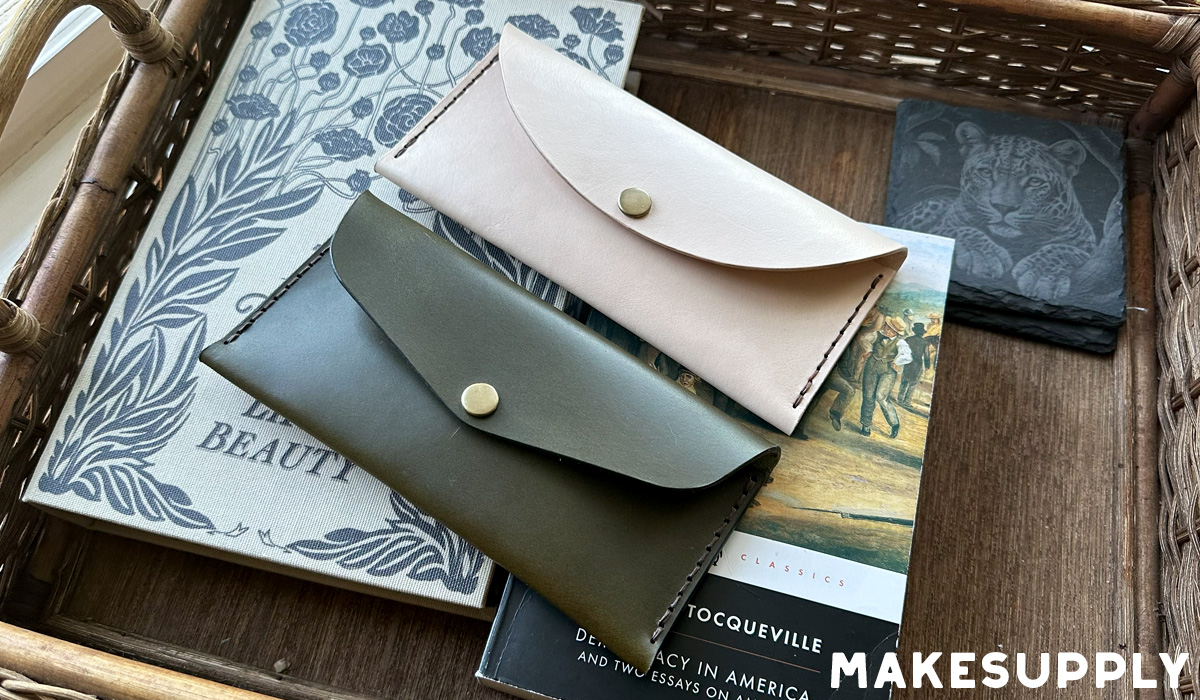
Download a free leather cash envelope pattern in print-at-home PDF format. This is a straightforward one-piece build — cut, fold, and stitch — and one of the more beginner-friendly projects on the site. If you’ve made a wallet before, this is easier. If this is your first leather project, it’s a solid place to start.
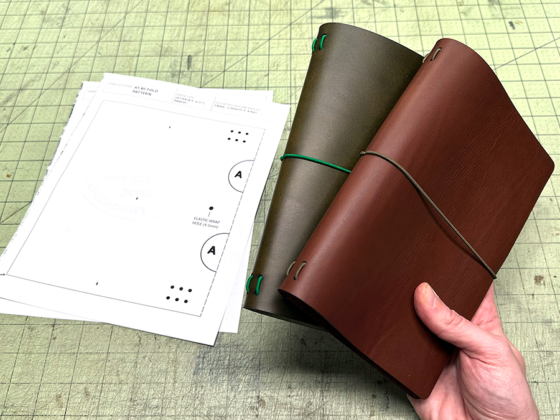
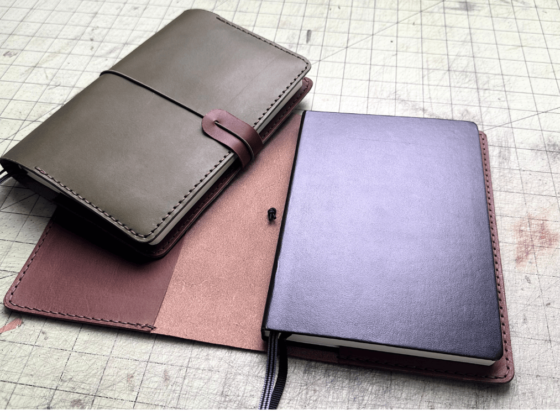
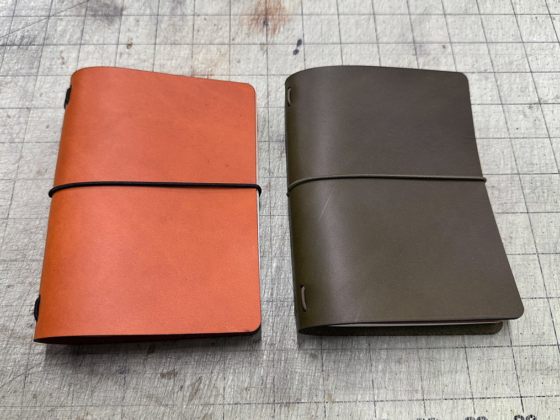
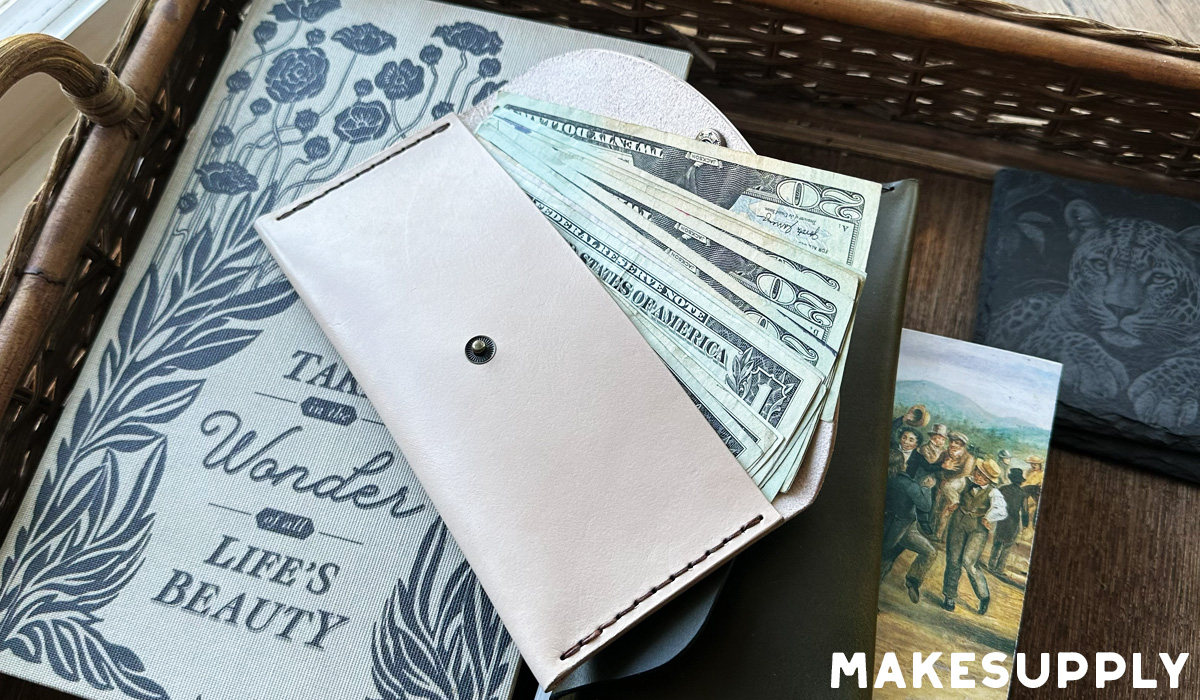
The pattern includes two flap styles: a rounded flap and a peak flap. Same construction either way — just pick the look you want before you cut. Both versions are sized to hold US bills laid flat without folding. Letter and A4 print formats included.
If you’d prefer the editable source files, check out the Laser Ready / Source Files link below.
Note: Be sure to print at 100% scale for accurate sizing.
What You’re Making…
Template Options
This pattern is available in a few different formats depending on how you want to work. Grab the free PDF to print and cut at home, download the source files if you’re setting up a laser cutter, or pick up the acrylic template set if you want to skip the setup entirely.
⚡ Laser-Ready / Source Files
The laser-ready source files are for makers who don’t want to trace anything. SVG and formats included — perfectly scaled, clean cut paths, no setup guesswork. Drop them straight into LightBurn, Cricut Design Space, xTool Studio, or your preferred cutting software and go. If you’re customizing the design or adding engraving, these are the files you want.
🧩 Acrylic Template
Paper patterns work fine for a single build. If you’re making multiples — for markets, commissions, or just because you like the project — the acrylic template is worth it. Precision-cut and built to last, the templates speed up layout and cutting while keeping every piece consistent. They won’t stretch, tear, or wear out, no matter how many times you reach for them.
🧩 FREE Print-Ready PDF Download!
Free Cash Envelope Pattern - 1.47 MB
Usage Note: You are free to use this design to create and even sell the end product. However, you cannot redistribute this template in any form.
If you need any general assistance with how our patterns work, check out our How To Use MAKESUPPLY Leather Templates Guide!
👇 Get notified when new free templates drop! 👇
Video Instructions
▶️ Watch the build along video instructions on YouTube
Project Inventory
Product | Description | Link |
Protect your tools and work table | ; | |
Non-slip hammer head for punching holes | ; | |
Solid surface for punching | ; | |
Protects hole punches from damage | ; | |
For melting the ends of the frayed elastic cord | ; | |
Waxed flat-braided polycord thread | ; | |
Round hole – 6mm spaced / 1.2mm hole size. | ; | |
Water based glue marker. My favorite! | ; | |
Snaps and snap tools | ; | |
Leather thickness gauge to…. gauge the thickness of the leather 🙂 | ; | |
For tracing the pattern shape on the leather surface | ; | |
Excellent cutting knife for light to medium weight leather | ; | |
Edge Beveler | To bevel the edges of the journal (optional) | ; |
Used to burnish the beveled edges (optional) | ; | |
Used to burnish the beveled edges (optional) | ; |
Leather Selection
When making this leather cash envelope, you can use a wide range of leathers.
For thickness, we recommend around 1.4-2.4mm (about 3.5–5 oz). You have a good amount of wiggle room for this project. However, we don’t suggest pushing much past the 2.4mm range as it gets increasing difficult to fold the leather at the seam properly. This is especially true if you’re using a more firm leather like the natural vegetable tanned leather we used in the video.
2mm (4oz) is the perfect thickness for this project.
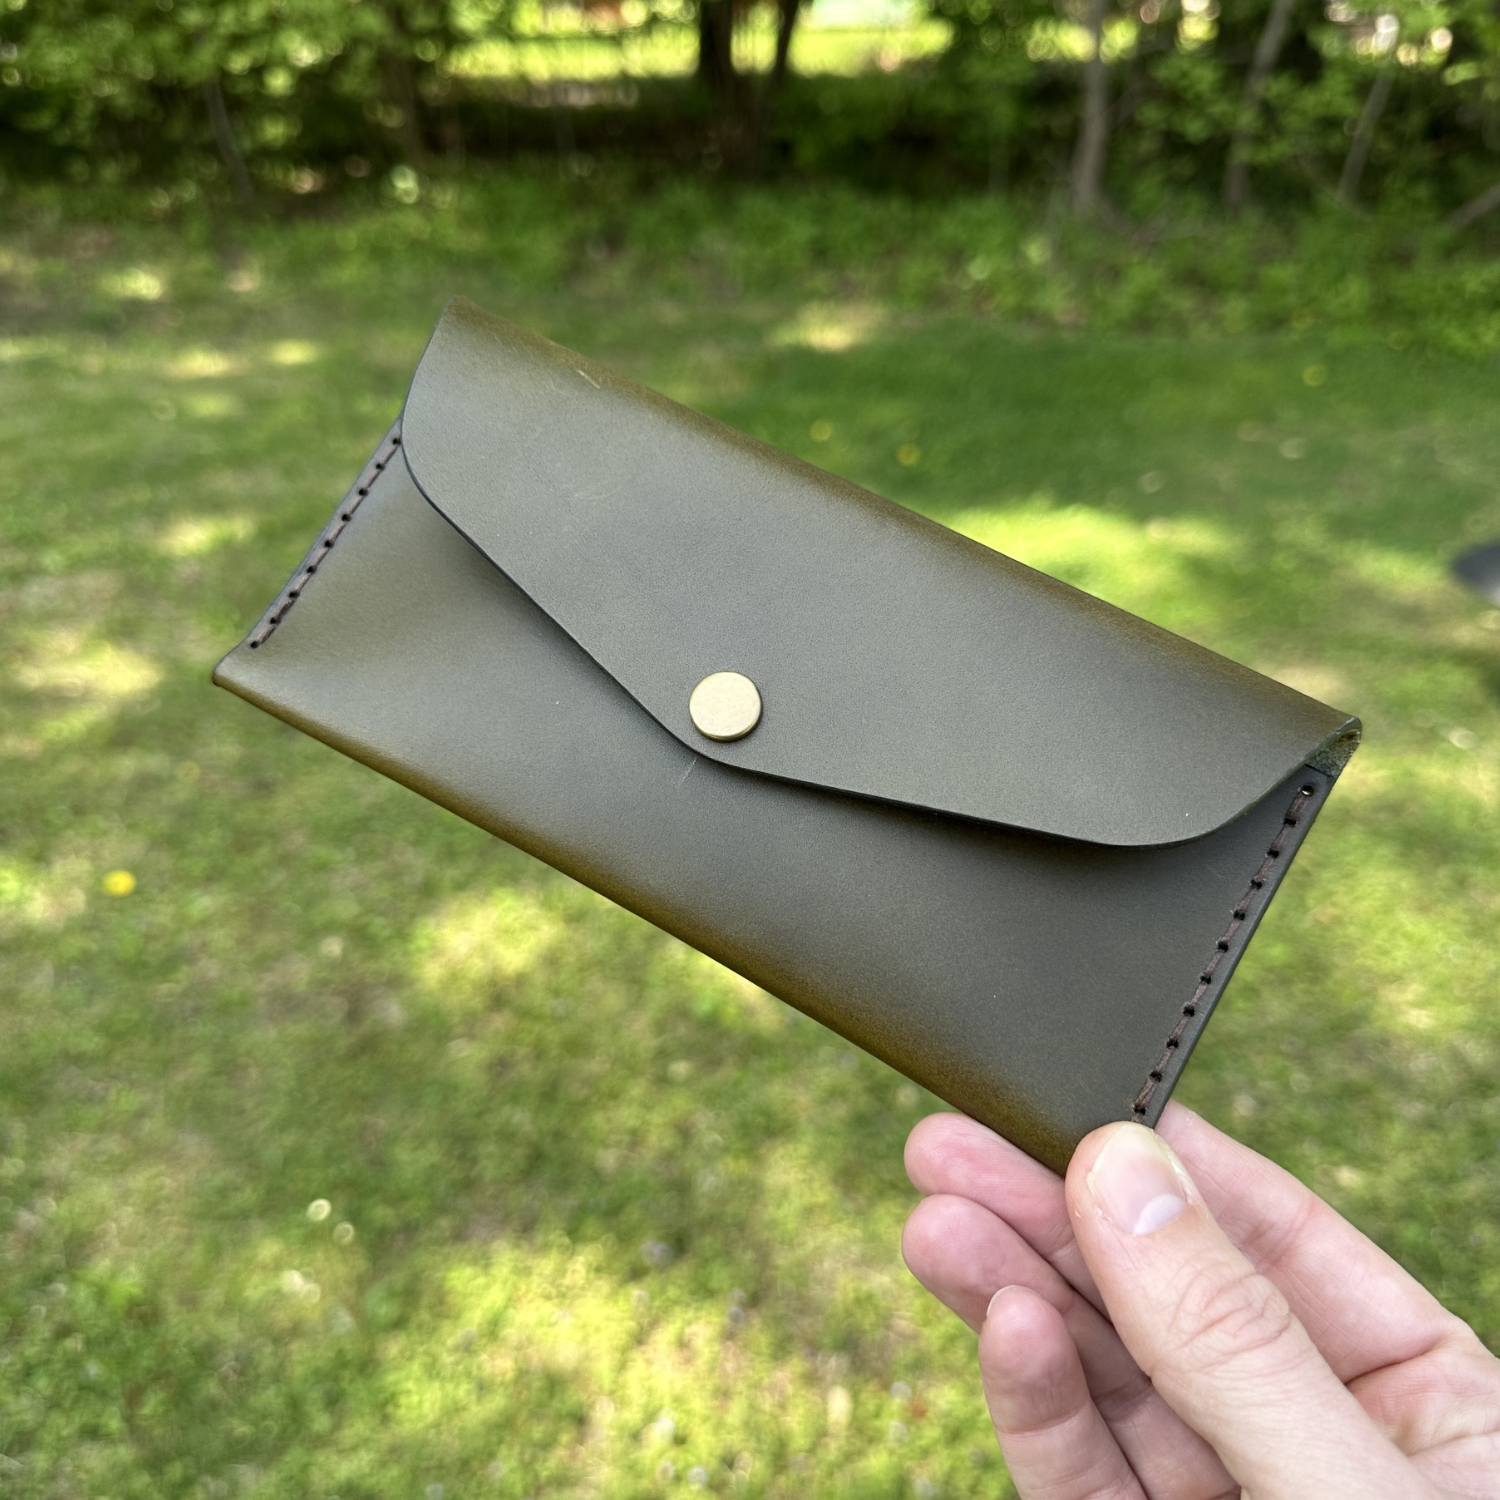
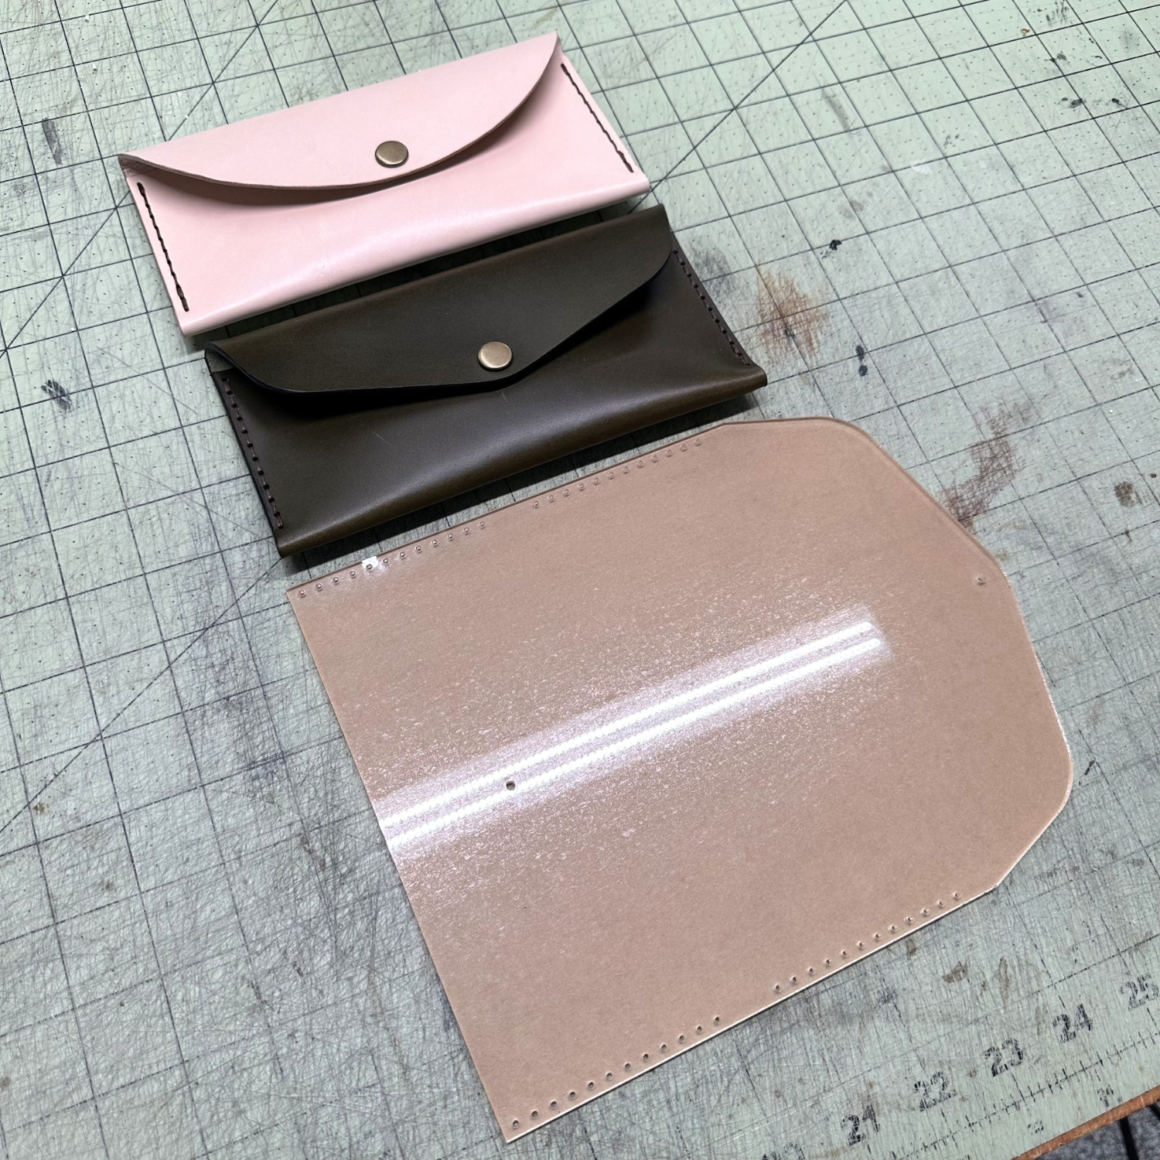
In the photo examples we used two diffierent types of vegetable tanned leather. The green leather is Buttero (Conceria Walpier) in thickness 2.2mm. The natural color (also seen in the build along video) is actually a tooling leather available on Amazon in thickness 4-5oz (2 – 2.4mm). The leather quality was not the best but for the price we couldn’t complain.
Here are a couple of options available from Amazon that we would consider suitable for this project:
Hardware Selection
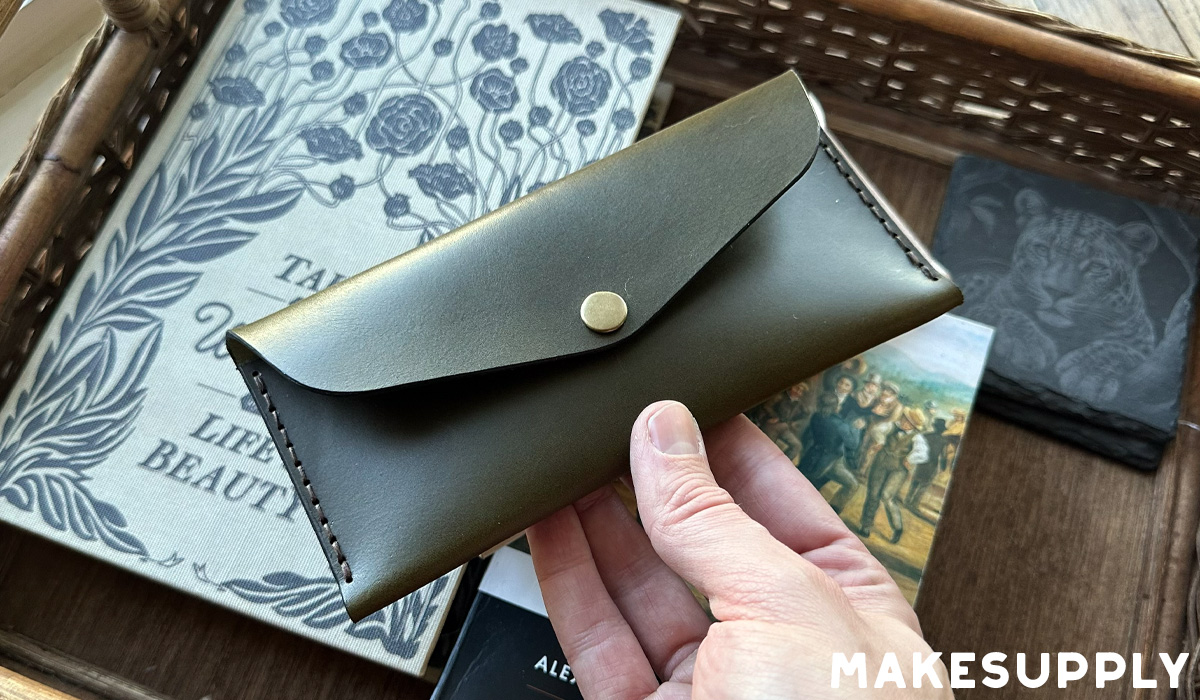
This design requires a closure which can be either snap fasteners, magnet, or button studs. In the photos and video we opted for Antique Brass snaps. The ones we used came in a little kit with the setting tools and a hole punch that is perfectly sized for the snaps. Not the highest quality hardware, but got the job done. These little hardware kits are a great place to start if you’re a beginner.
We recommend using 12.5mm or 15mm caps.
Guidelines of Template Usage
We put a lot of time and effort into producing these templates, videos, and blog posts. Please do not distribute the template you have purchased from Makesupply. It’s not cool and hurts our feelings (CRY EMOJI). However, you are free to do whatever you want with the end product you create using the template.